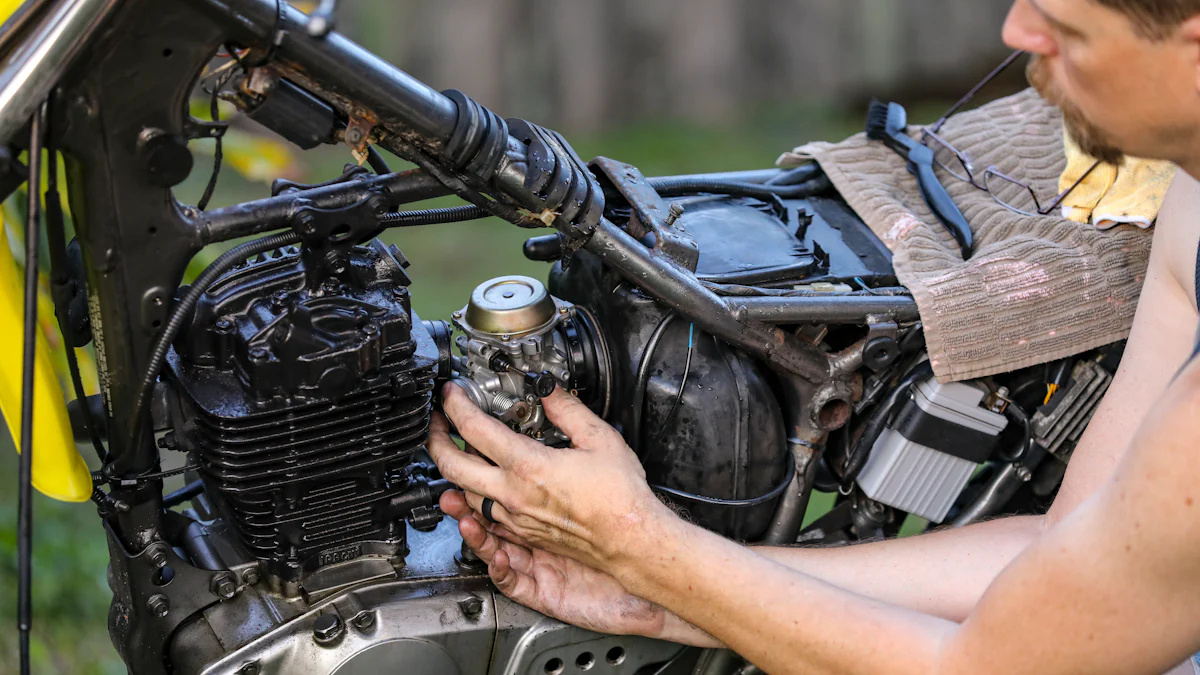
Oil leaks can be a frustrating issue for Harley riders. These leaks often stem from wear, improper maintenance, or common problems specific to Harley Davidson motorcycles. Ignoring them risks serious engine damage and reduced performance. Regularly inspecting your bike for leaks and signs of wear, as recommended by certified Harley technicians, helps you catch issues early. Whether it’s a gasket problem or an overfilled oil tank, addressing leaks promptly is essential, especially when you need to change the oil. Don’t wait—take action to protect your Harley and enjoy the road without worry.
Key Takeaways
Regularly inspect your Harley for oil leaks and signs of wear to catch issues early and prevent costly repairs.
Replace worn or damaged gaskets promptly to maintain a proper seal and avoid oil seepage.
Ensure bolts are tightened to the manufacturer’s specifications to prevent gaps that can lead to leaks.
Avoid overfilling the oil tank; always check the oil level with the dipstick to prevent excess pressure and leaks.
Inspect oil lines for cracks or damage, and replace them as needed to maintain optimal engine performance.
Follow a consistent maintenance schedule, including regular oil changes every 2,000 to 3,000 miles, to keep your motorcycle running smoothly.
Stay proactive by monitoring for early signs of leaks and addressing them immediately to extend the life of your Harley.
Common Problems Leading to Oil Leaks in Harley Davidson Motorcycles
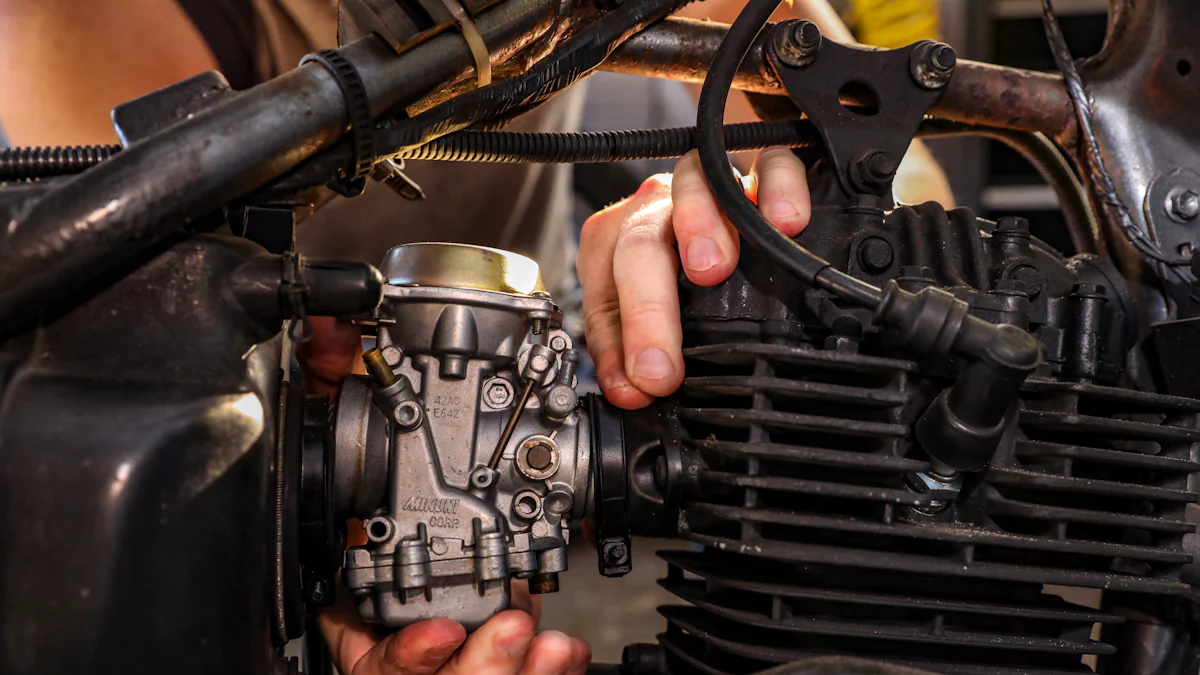
Oil leaks can be a headache for any Harley owner. Understanding the common causes helps you address these issues effectively and keep your motorcycle running smoothly. Let’s dive into the most frequent problems that lead to oil leaks in Harley Davidson motorcycles.
Worn or Damaged Gaskets
Gaskets play a crucial role in sealing various components of your Harley’s engine. Over time, these gaskets wear out due to heat, pressure, and regular use. A damaged gasket can allow oil to seep through, creating leaks that may worsen if left unchecked. You might notice oil pooling under your motorcycle or dripping from specific areas like the engine or transmission. Replacing worn gaskets promptly prevents further damage and ensures your Harley stays in top condition. Certified Harley technicians recommend regular inspections to catch gasket issues early, saving you from costly repairs down the road.
Loose or Improperly Tightened Bolts
Bolts hold your Harley Davidson’s components together, ensuring everything stays secure. However, vibrations from riding can cause bolts to loosen over time. When bolts aren’t tightened correctly, they create gaps that allow oil to escape. This issue often occurs around the oil pan, valve covers, or drain plugs. Checking and tightening bolts regularly is a simple yet effective way to prevent leaks. If you’re unsure about the correct torque settings, consulting your Harley’s manual or visiting an authorized dealer ensures the job gets done right.
Overfilled Oil Tanks
Adding too much oil to your Harley’s tank might seem harmless, but it’s a common mistake that leads to leaks. Overfilling creates excess pressure, forcing oil out through seals and gaskets. This not only causes leaks but can also damage your engine over time. To avoid this problem, always follow the manufacturer’s guidelines for oil levels. Use the dipstick to check the oil level after filling, and ensure your motorcycle is upright for an accurate reading. If you’re performing an oil change at home, take your time to measure carefully and avoid overfilling.
Cracked or Damaged Oil Lines
Oil lines in your Harley Davidson motorcycle play a vital role in transporting oil to essential engine components. Over time, these lines can crack or sustain damage due to wear, heat, or exposure to debris on the road. When oil lines fail, they often lead to noticeable leaks that can compromise your motorcycle’s performance and even cause engine problems if ignored.
To spot issues with your oil lines, start by inspecting them visually. Look for cracks, splits, or signs of wear along the length of the lines. Pay attention to areas where the lines connect to the engine or other components, as these spots are more prone to damage. If you notice oil dripping or pooling near these connections, it’s a clear sign that the lines may need repair or replacement.
Replacing damaged oil lines is a straightforward process, but it requires the right tools and attention to detail. Begin by draining the oil to prevent spills. Carefully remove the damaged line and replace it with a new one that matches your Harley’s specifications. Ensure all connections are secure to avoid future leaks. If you’re unsure about the process, visiting an authorized Harley Davidson dealer ensures the job is done correctly. Certified technicians have the expertise and tools to handle such repairs efficiently.
Regular maintenance can help you avoid problems with oil lines. Clean the lines periodically to remove dirt and debris that could cause wear. During routine inspections, check for early signs of damage. By staying proactive, you can prevent costly repairs and keep your Harley running smoothly.
Step-by-Step Guide to Fixing Oil Leaks in Harley Davidson Motorcycles
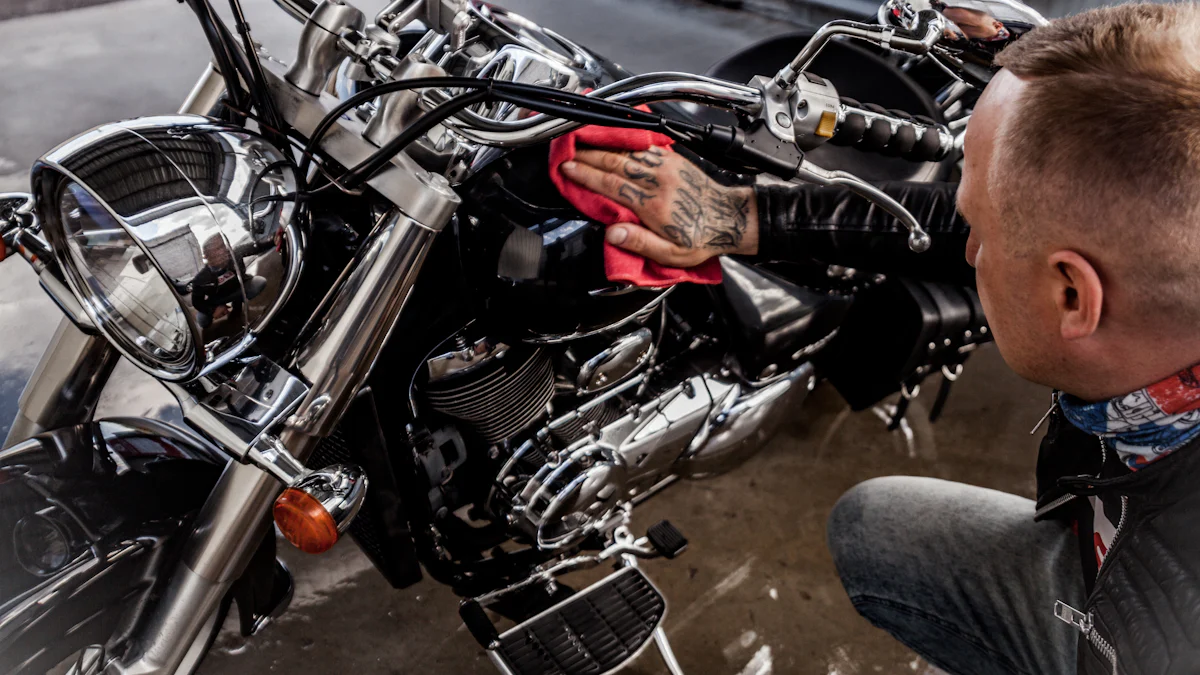
Fixing oil leaks in your Harley doesn’t have to feel overwhelming. With the right approach, you can tackle the issue and get back on the road with confidence. Follow this step-by-step guide to address leaks effectively and maintain your motorcycle’s performance.
Identifying the Source of the Leak
The first step in learning how to fix an oil leak is pinpointing its source. Start by thoroughly inspecting your Harley. Look for oil pooling under the bike or dripping from specific areas like the engine, oil pan, or gaskets. Use a flashlight to check hard-to-see spots. If the leak isn’t immediately visible, clean the engine and surrounding components with a degreaser. Once clean, run the engine briefly and observe where the oil begins to seep out.
Pay close attention to common trouble areas. For instance, the Harley Davidson Twin Cam 103 engine is known for gasket wear and oil line issues. In fact, there have been cases where faulty oil line clamps caused leaks, leading to recalls. Identifying the exact location of the leak ensures you address the root cause rather than just the symptoms.
Repairing or Replacing Faulty Components
Once you’ve identified the source, it’s time to fix the problem. Depending on the issue, you may need to repair or replace specific components. Here’s how to handle some common scenarios:
Worn Gaskets: Remove the damaged gasket and clean the surface thoroughly. Install a new gasket that matches your Harley’s specifications. Tighten bolts evenly to ensure a proper seal.
Loose Bolts: Use a torque wrench to tighten bolts to the manufacturer’s recommended settings. This prevents gaps that allow oil to escape.
Damaged Oil Lines: Replace cracked or worn oil lines with new ones. Ensure all connections are secure to avoid future leaks. Harley Davidson motorcycles, including the Twin Cam 103, have experienced issues with oil lines coming loose, so double-check these areas.
If you’re unsure about how to fix a specific component, consult your Harley’s manual or visit a certified technician. Addressing faulty parts promptly prevents engine problems and keeps your motorcycle running smoothly.
Cleaning and Testing After Repairs
After completing the repairs, clean the affected areas again to remove any residual engine oil. This step helps you confirm that the leak has been fixed. Start your Harley and let it run for a few minutes. Check for any signs of oil seeping from the repaired area. If everything looks good, take your motorcycle for a short ride and inspect it again afterward.
Testing ensures that the issue has been resolved and that your Harley is ready for the road. Regular maintenance and inspections can help you catch potential problems early, saving you time and money in the long run.
By following these steps, you’ll know how to fix oil leaks in your Harley Davidson Twin Cam 103 or any other model. Addressing leaks promptly not only prevents engine problems but also ensures your bike delivers optimal performance every time you ride.
How to Change the Oil in a Harley Davidson Motorcycle
Changing the oil in your Harley Davidson motorcycle is a straightforward process that keeps your bike running smoothly and extends its lifespan. Whether you’re a seasoned rider or new to motorcycle maintenance, following the right steps ensures a clean and efficient oil change. Let’s break it down.
Tools and Materials Needed for an Oil Change
Before you start, gather everything you’ll need. Having the right tools and materials on hand makes the process quicker and prevents unnecessary interruptions. Here’s what you’ll need:
Motorcycle-specific oil: Check your Harley Davidson manual for the recommended type and grade.
Oil filter: Ensure it matches your Harley model.
Oil filter wrench: Helps remove the old filter without hassle.
Socket wrench set: For loosening the drain plug.
Drain pan: To catch the used oil.
Funnel: Makes pouring new oil easier and mess-free.
Rags or paper towels: For cleaning up spills.
Gloves: Protects your hands from oil and grime.
Having these items ready ensures you can complete the oil change efficiently. If you’re missing any tools, visit your local Harley Davidson dealer or trusted auto shop.
Step-by-Step Process to Change Oil
Follow these steps to change the oil in your Harley Davidson motorcycle. Each step ensures you do the job right and avoid common mistakes.
Warm Up the Engine
Start your motorcycle and let it run for a few minutes. Warm oil flows better, making it easier to drain. Turn off the engine before proceeding.Position the Bike Upright
Use a motorcycle stand or have someone help you hold the bike upright. This position ensures all the oil drains completely.Locate the Drain Plug
Find the oil drain plug under the engine. Refer to your Harley Davidson manual if you’re unsure of its location.Place the Drain Pan
Position the drain pan directly under the plug to catch the used oil.Remove the Drain Plug
Use a socket wrench to loosen and remove the plug. Allow the oil to drain fully into the pan. Be patient; this may take a few minutes.Replace the Oil Filter
Use the oil filter wrench to remove the old filter. Apply a thin layer of fresh oil to the rubber gasket of the new filter. Screw the new filter into place by hand until snug.Reinstall the Drain Plug
Once the oil has drained completely, clean the drain plug and reinstall it. Tighten it securely but avoid over-tightening.Add New Oil
Insert a funnel into the oil fill port. Pour in the recommended amount of oil for your Harley model. Use the dipstick to check the oil level and ensure it’s within the proper range.Start the Engine
Start your motorcycle and let it run for a minute. Check for leaks around the drain plug and oil filter. Turn off the engine and recheck the oil level, topping off if necessary.Dispose of Used Oil Properly
Transfer the used oil to a sealed container and take it to a recycling center or auto shop that accepts used oil.
By following these steps, you’ll complete the oil change with confidence and keep your Harley Davidson in top condition.
Common Mistakes to Avoid During an Oil Change
Even experienced riders can make mistakes when changing their motorcycle’s oil. Avoid these common pitfalls to ensure a smooth process:
Skipping the warm-up: Cold oil doesn’t drain as thoroughly, leaving contaminants behind.
Over-tightening the drain plug or filter: This can damage threads or make future oil changes difficult.
Using the wrong oil type: Always use the oil recommended for your Harley Davidson model to maintain performance.
Overfilling the oil tank: Too much oil creates pressure, leading to leaks and potential engine damage.
Neglecting to check for leaks: Always inspect the drain plug and filter after adding new oil.
Taking your time and double-checking each step ensures you avoid these mistakes. Following proper oil change instructions keeps your Harley running like a dream.
Preventative Maintenance Tips to Avoid Oil Leaks
Keeping your Harley in top condition requires consistent care and attention. By following these preventative maintenance tips, you can avoid oil leaks and ensure your Harley-Davidson V-Twin engine runs smoothly for years to come.
Regular Oil Changes and Inspections
Regular maintenance is the cornerstone of preventing oil leaks. Changing the oil at the recommended intervals ensures your Harley-Davidson V-Twin engine stays lubricated and free from harmful contaminants. Most experts suggest changing the oil every 2,000 to 3,000 miles, depending on your riding habits and conditions. Using a motorcycle oil change kit simplifies this process by providing all the tools and materials you need in one package. These kits are designed specifically for Harley-Davidson motorcycles, making them a convenient choice for riders.
Inspections are equally important. Check for signs of wear or damage around gaskets, bolts, and oil lines during every oil change. Look for any pooling oil under your motorcycle or residue near the engine. Catching these issues early can save you from costly repairs down the road. If you’re unsure about what to look for, consult your Harley-Davidson manual or visit a certified technician for guidance.
Proper Storage and Handling of Your Harley Davidson
How you store and handle your Harley plays a significant role in preventing oil leaks. Always park your motorcycle on a level surface to avoid unnecessary strain on the engine and oil system. If you’re storing your Harley for an extended period, consider using a motorcycle stand to keep it upright. This prevents oil from settling unevenly and reduces the risk of leaks.
Temperature fluctuations can also impact your Harley-Davidson V-Twin engine. Store your bike in a cool, dry place to protect seals and gaskets from extreme heat or cold. Cover your motorcycle with a breathable cover to shield it from dust and moisture. Proper storage not only prevents leaks but also extends the overall lifespan of your bike.
Monitoring for Early Signs of Oil Leaks
Staying vigilant is key to avoiding major issues. Regularly inspect your Harley for early signs of oil leaks. Pay close attention to areas around the oil pan, drain plug, and gaskets. Use a flashlight to check hard-to-see spots, especially if you notice a drop in oil levels or unusual engine performance.
If you spot any leaks, address them immediately. Tools like the Oil Filter Removal Wrench and Greg’s Oil Filter Funnel make repairs easier and cleaner. These tools are designed specifically for Harley-Davidson motorcycles, ensuring a perfect fit and reducing the mess during maintenance. Quick action prevents minor leaks from escalating into serious problems that could damage your engine.
By following these preventative maintenance tips, you’ll keep your Harley-Davidson V-Twin engine in peak condition. Regular oil changes, proper storage, and early detection of leaks ensure your motorcycle stays reliable and ready for the road.
Oil leaks in your Harley Davidson motorcycle don’t have to be a major headache. With consistent care and attention, you can keep your bike in excellent shape. Understanding the causes of leaks helps you address them quickly, preventing costly repairs and ensuring optimal performance. Regular maintenance, like timely oil changes and inspections, saves you time and frustration. As John Doe shared, sticking to a maintenance schedule kept his Harley leak-free. By staying proactive, you’ll enjoy a smoother ride and extend the life of your motorcycle.
FAQ
How can I tell if my Harley Davidson has an oil leak?
You can spot an oil leak by checking for oil pooling under your bike or noticing residue around the engine, gaskets, or oil lines. Use a flashlight to inspect hard-to-see areas. If you see oil dripping or your oil levels drop faster than usual, it’s time to investigate further. Regular inspections during maintenance help you catch leaks early.
What causes oil leaks in Harley Davidson motorcycles?
Oil leaks often result from worn gaskets, loose bolts, overfilled oil tanks, or damaged oil lines. Vibrations from riding can loosen components, while heat and wear can degrade seals and gaskets. Overfilling the oil tank creates pressure that forces oil out. Identifying the root cause ensures you fix the issue effectively.
Can I fix an oil leak on my Harley Davidson myself?
Yes, you can fix many oil leaks yourself if you have the right tools and knowledge. Start by identifying the source of the leak. Replace worn gaskets, tighten loose bolts, or swap out damaged oil lines as needed. Always follow your Harley’s manual for specifications. If you’re unsure, visiting a certified technician ensures the repair is done correctly.
How often should I change the oil in my Harley Davidson?
You should change the oil every 2,000 to 3,000 miles, depending on your riding habits and conditions. For synthetic oil, the interval may extend to 5,000 to 7,500 miles. Regular oil changes keep your engine lubricated and free from contaminants, ensuring optimal performance and longevity.
What tools do I need for a Harley Davidson oil change?
You’ll need motorcycle-specific oil, an oil filter, an oil filter wrench, a socket wrench set, a drain pan, a funnel, and rags or paper towels. Gloves are also helpful for keeping your hands clean. Having these tools ready makes the process smoother and more efficient.
How do I prevent oil leaks in my Harley Davidson?
Prevent oil leaks by performing regular maintenance. Change the oil at recommended intervals, inspect gaskets and bolts for wear, and check oil lines for cracks. Proper storage, like parking on a level surface and avoiding extreme temperatures, also helps protect seals and gaskets. Staying proactive keeps your bike in top condition.
Why is my Harley Davidson leaking oil after an oil change?
Oil leaks after an oil change often happen due to overfilling, a loose drain plug, or an improperly installed oil filter. Double-check the oil level with the dipstick and ensure the drain plug and filter are secure. If the problem persists, inspect for damaged gaskets or seals.
Are Harley Davidson flag mounts worth adding to my bike?
Absolutely! Adding Harley Davidson flag mounts enhances your bike’s style and lets you showcase your personality or support for a cause. These mounts are durable, easy to install, and designed to fit seamlessly with your Harley. They also make your bike stand out on the road, giving it a unique and personal touch. Check out Harley Davidson flag mounts for options that suit your ride.
Should I use synthetic or conventional oil for my Harley Davidson?
Synthetic oil offers better performance in extreme temperatures and lasts longer between changes. Conventional oil works well for standard riding conditions but requires more frequent changes. Always refer to your Harley’s manual to choose the oil type that matches your model’s specifications.
Is it safe to ride with a small oil leak?
Riding with a small oil leak isn’t recommended. Even minor leaks can worsen over time, leading to engine damage or safety hazards. Address leaks promptly to avoid costly repairs and ensure your bike performs at its best. Regular maintenance helps you catch and fix leaks before they become serious.
