Your Harley Davidson deserves a reliable battery to keep it running smoothly. A failing battery can leave you stranded at the worst possible moment. You might notice your engine struggling to start or your lights dimming unexpectedly. These are clear signs that your battery could be nearing the end of its life. Regular maintenance and timely checks are essential to avoid these issues. Experts emphasize that proper care not only extends the lifespan of your battery but also ensures a safer and more enjoyable ride. Always stay proactive and check the battery health to keep your bike in top condition.
Key Takeaways
Watch for signs like slow engine cranking and dim lights, as these indicate your battery may be failing.
Regularly inspect your battery for corrosion or physical damage, which can affect its performance and safety.
Test your battery’s voltage with a multimeter; a reading below 12.5 volts suggests it may need replacement.
If you frequently need jump-starts, it’s a clear sign your battery is struggling and should be evaluated.
Maintain your battery by cleaning terminals, using a battery tender, and following a regular maintenance schedule.
Replace your battery if it’s over three years old or shows signs of damage, as older batteries are more prone to failure.
Stay proactive with battery health checks to ensure a reliable and enjoyable riding experience.
Common Signs Your Harley Davidson Battery Needs Replacement
Slow Engine Crank
When you turn the key and hear your engine struggling to start, it’s a clear warning sign. A healthy battery should provide enough power to crank the engine smoothly. If the cranking sound is weak or slower than usual, your battery might be losing its charge. This issue often becomes more noticeable in colder weather when batteries naturally face more strain. Don’t ignore this symptom, as it could leave you stranded unexpectedly.
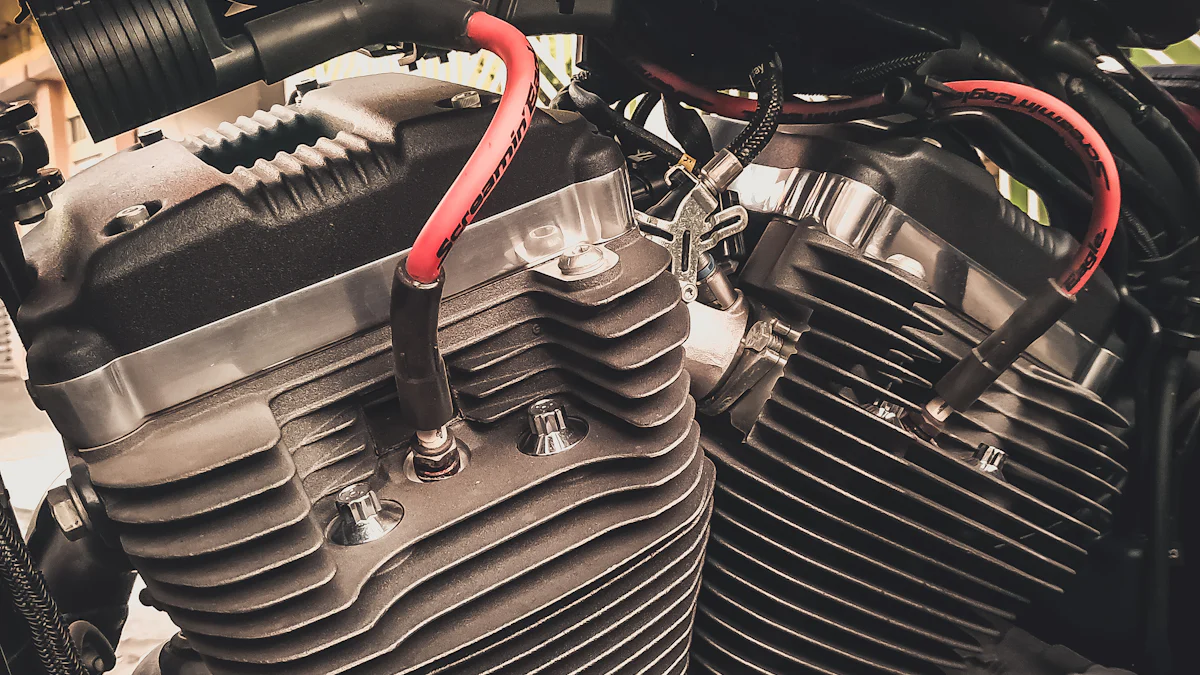
Dim or Flickering Lights
Your Harley’s lights are another indicator of battery health. If you notice your headlights or dashboard lights dimming or flickering, it’s time to pay attention. These signs of a bad motorcycle battery suggest that it’s not delivering consistent power to your bike’s electrical system. Lights that don’t shine as brightly as they used to can also point to a failing battery. Regularly check your lights to catch this issue early.
Battery Age
The age of your battery plays a significant role in its performance. Most motorcycle batteries, including those in Harley-Davidson bikes, last between 36 to 42 months. If your battery is nearing or past this range, it’s wise to monitor its performance closely. Even if it seems to work fine, older batteries are more prone to sudden failure. Replacing an aging battery before it dies completely can save you from unexpected trouble.
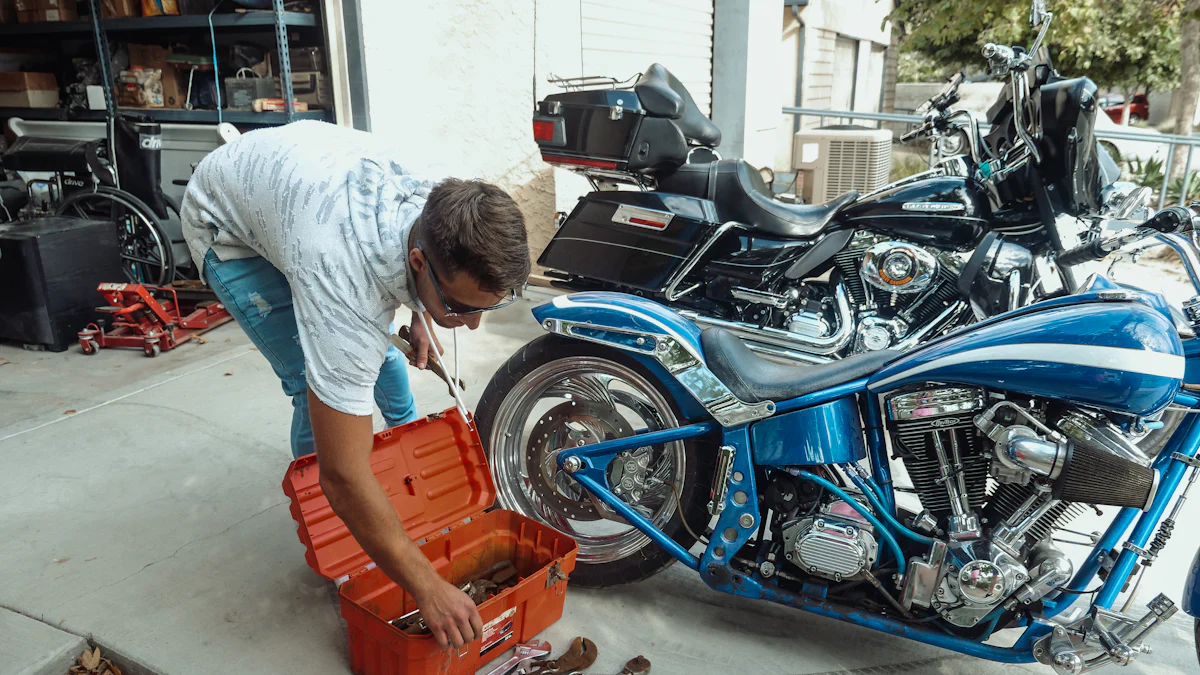
Frequent Need for Jump-Starts
If you find yourself frequently jump-starting your Harley Davidson, it’s a clear sign that your battery is struggling. A healthy battery should hold enough charge to start your bike consistently. When it doesn’t, it indicates that the battery is no longer retaining power effectively. This issue often worsens over time, leaving you more reliant on external help to get your motorcycle running.
Jump-starting might seem like a quick fix, but it’s not a long-term solution. Repeatedly doing so can strain your bike’s electrical system and potentially damage other components. If this becomes a regular occurrence, it’s time to evaluate your battery’s condition. Testing it with a multimeter or consulting a professional can help you determine whether it’s time for a replacement.
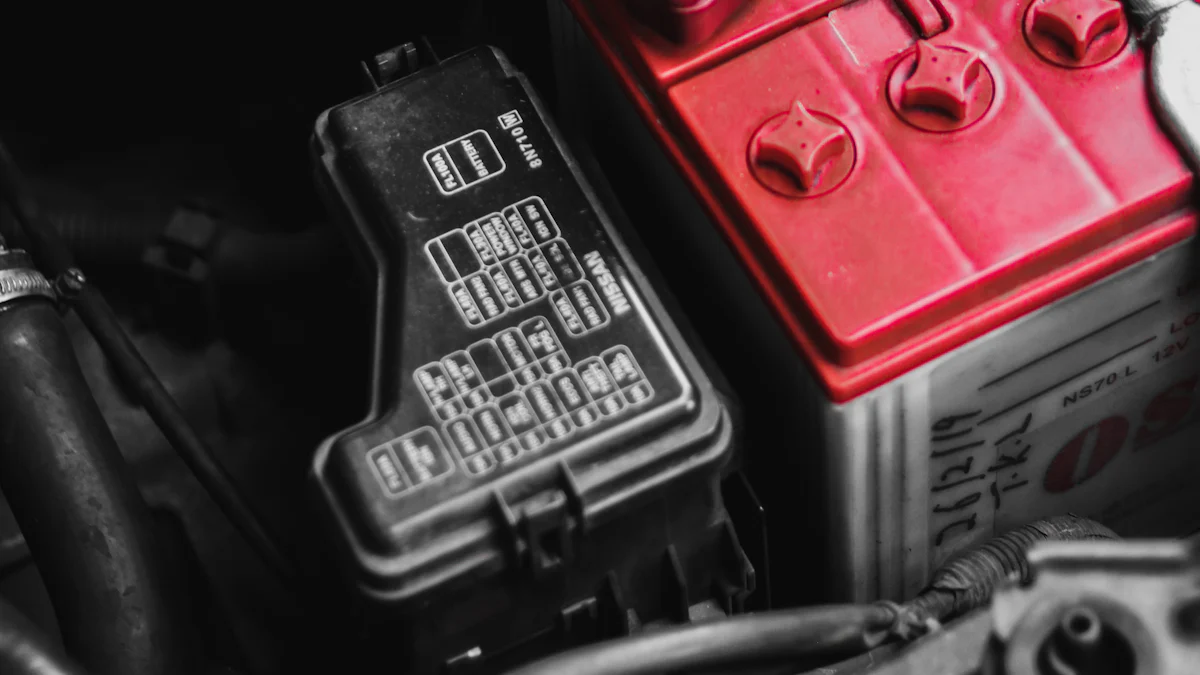
Corrosion or Physical Damage
Physical damage or corrosion on your battery is another red flag. Inspect your Harley Davidson battery regularly for signs of wear and tear. Corrosion often appears as a white or greenish residue around the terminals. This buildup can interfere with the battery’s ability to deliver power efficiently. Cleaning the terminals might temporarily improve performance, but persistent corrosion usually signals deeper issues.
Look for other physical signs like cracks, bulges, or leaks. These indicate that the battery has been compromised, possibly due to overheating or freezing. A damaged battery poses safety risks and can lead to sudden failure. Replacing it promptly ensures your bike remains reliable and safe to ride. Always choose a battery designed specifically for Harley Davidson motorcycles to avoid compatibility issues and maintain optimal performance.
How to Check the Battery Health of Your Harley Davidson
Keeping your Harley Davidson in top shape starts with understanding how to check the battery health. A reliable battery ensures your bike starts smoothly and powers essential systems like lights and the horn. Let’s dive into the steps you can take to assess your battery’s condition.
Visual Inspection
Start with a simple visual inspection. Look closely at your battery for any signs of wear or damage. Corrosion often appears as a white or greenish residue around the terminals. This buildup can interfere with the flow of electricity, causing performance issues. Clean the terminals gently if you notice any residue, but remember that persistent corrosion might indicate a deeper problem.
Check for physical damage like cracks, bulges, or leaks. These issues often result from overheating or freezing and can compromise the battery’s safety and functionality. A damaged battery should be replaced immediately to avoid unexpected failures. As one Harley-Davidson enthusiast shared, nothing is worse than being stranded with a dead battery on a long ride. Regular inspections can help you catch these problems early.
How to Test a Motorcycle Battery with a Multimeter
A multimeter is a handy tool for assessing your battery’s voltage. Knowing how to test a motorcycle battery with this device can save you time and money. First, set the multimeter to DC voltage mode. Connect the red probe to the positive terminal and the black probe to the negative terminal of your battery.
A fully charged battery should read around 12.6 volts or higher when the engine is off. If the reading falls below 12.5 volts after the battery has been charged and left to sit for 24 hours, it may need replacement. During an engine start, the voltage should stay above 9.6 volts. If it drops below this level, your battery might struggle to provide enough power to start your bike. Testing regularly helps you stay ahead of potential issues.
Load Testing for Accurate Results
Load testing provides a more detailed look at your battery’s performance under stress. This test simulates the demands placed on the battery during engine start-up. You can use a load tester or consult a professional for this process. Attach the tester to your battery and apply a load equivalent to half the battery’s cold cranking amps (CCA).
Monitor the voltage during the test. A healthy battery should maintain a voltage above 9.6 volts under load. If the voltage drops significantly, it’s a sign that your battery can’t handle the demands of your motorcycle. Load testing is especially useful when you’re unsure whether to recharge or replace your battery. It gives you a clear picture of its overall health.
“A battery is responsible for bringing the motorbike to life by producing a spark and current to switch on the engine and power the electrical systems,” a motorcycle enthusiast explained. Without a functional battery, your Harley won’t start. Regular testing ensures you’re never caught off guard.
By following these steps, you can confidently check the battery health of your Harley Davidson. Whether through a quick visual inspection, using a multimeter, or performing a load test, staying proactive helps you avoid unexpected breakdowns and keeps your bike running smoothly.
Steps to Decide Between Recharging or Replacing Your Motorcycle Battery
Interpreting Test Results
Understanding your test results is the first step in deciding whether to recharge or replace your motorcycle battery. If you’ve used a multimeter, check the voltage readings carefully. A fully charged battery should show a voltage of 12.7 volts or higher. If the voltage drops below 12.5 volts after sitting idle for 24 hours, it’s a sign that the battery may not hold a charge effectively anymore.
When you start your motorcycle, the voltage should stay above 9.6 volts. If it dips below this level, the battery struggles to provide enough power for the engine. Load testing offers even more clarity. During this test, if the voltage falls significantly under load, the battery likely cannot handle the demands of your bike. These results help you determine whether recharging is sufficient or if replacement is necessary.
When Replacement is Necessary
Sometimes, recharging isn’t enough to restore your motorcycle battery’s performance. If your battery is over three years old, it’s more prone to failure, even with proper care. Frequent jump-starts, persistent low voltage, or physical damage like cracks and leaks are clear signs that replacement is the best option.
A damaged or aging battery can compromise your motorcycle’s reliability and safety. For instance, corrosion around the terminals or a warped case indicates deeper issues that recharging won’t fix. Replacing the battery ensures your Harley Davidson runs smoothly and avoids unexpected breakdowns. Always choose a high-quality battery designed for motorcycles to maintain optimal performance.
Tips for Maintaining Your Harley Davidson Battery
Proper maintenance can extend the life of your Harley Davidson battery and save you from frequent replacements. Follow these tips to keep your battery in top condition:
Regular Cleaning: Inspect the terminals for corrosion and clean them gently with a brush and baking soda solution. This prevents buildup that can interfere with power delivery.
Use a Battery Tender: When your motorcycle isn’t in use, connect it to a battery tender. This device keeps the battery charged at an optimal level, especially during long storage periods.
Avoid Deep Discharges: Letting your battery discharge completely can shorten its lifespan. Start your motorcycle regularly or use a tender to maintain its charge.
Check Electrolyte Levels: For lead-acid batteries, monitor the electrolyte levels and top them off with distilled water if needed. This prevents internal damage and ensures consistent performance.
Follow a Maintenance Schedule: Stick to the recommended maintenance schedule for your Harley Davidson. Regular load testing and visual inspections help you catch issues early.
By taking these steps, you can maximize your motorcycle battery’s lifespan and ensure reliable performance. A well-maintained battery not only powers your bike efficiently but also enhances your overall riding experience.
Regularly checking your Harley Davidson battery ensures you avoid unexpected starting issues and extend its lifespan. Pay attention to signs like slow cranking or dim lights, and test the battery when these issues arise. If the voltage drops below 9.5 volts during a load test or fails to hold a charge after recharging, replacing the battery is the best choice. Proper maintenance, like cleaning terminals and using a battery tender, keeps your battery in top condition. A well-maintained battery guarantees reliable performance and a smoother, worry-free ride.
FAQ
How long does a Harley Davidson battery typically last?
Most motorcycle batteries, including those for Harley Davidson bikes, last about three years. However, the lifespan can vary depending on how often you ride and how well you maintain the battery. Regular use of a battery tender and proper storage can significantly extend its life.
What are the signs of a failing motorcycle battery?
You might notice slow engine cranking, dim or flickering lights, or the need for frequent jump-starts. Physical signs like corrosion, cracks, or bulges on the battery also indicate trouble. If your battery is over three years old, it’s wise to monitor its performance closely.
How can I test my Harley Davidson battery at home?
You can use a multimeter to check the voltage. A fully charged battery should read around 12.6 volts or higher when the engine is off. During an engine start, the voltage should stay above 9.6 volts. If it drops below these levels, your battery may need attention.
What is the difference between recharging and replacing a battery?
Recharging restores the battery’s charge temporarily, but it doesn’t fix underlying issues like aging or damage. Replacement is necessary when the battery can no longer hold a charge, shows physical damage, or fails load tests. If your battery is over three years old, replacement is often the best option.
How do I maintain my Harley Davidson battery?
Clean the terminals regularly to prevent corrosion.
Use a battery tender to keep the charge level optimal during storage.
Avoid letting the battery discharge completely.
Store the battery in a cool, dry place when not in use.
Check electrolyte levels if you have a lead-acid battery.
Can I use any motorcycle battery for my Harley Davidson?
No, you should always use a battery designed specifically for Harley Davidson motorcycles. These batteries meet the power requirements of your bike and ensure reliable performance. Using an incompatible battery can lead to electrical issues or reduced lifespan.
What is a battery tender, and why should I use one?
A battery tender is a device that maintains your battery’s charge level when your motorcycle isn’t in use. It prevents overcharging and keeps the battery ready for use. This is especially helpful during long storage periods or colder months.
How do I store my motorcycle battery during the off-season?
Disconnect the battery and store it in a cool, dry place. Use a battery tender to maintain a consistent charge level. Avoid exposing the battery to extreme temperatures, as this can cause damage or reduce its lifespan.
Are lithium batteries better than lead-acid batteries for motorcycles?
Lithium batteries are lighter and have a longer lifespan compared to lead-acid batteries. They also offer better cranking power. However, they are more expensive. Choose the type that best fits your riding needs and budget.
What safety precautions should I take when handling a motorcycle battery?
Always wear gloves and safety glasses when handling the battery. Avoid contact with battery acid, as it can cause burns. Disconnect the negative terminal first when removing the battery, and reconnect it last when installing. If you’re unsure, consult a professional.