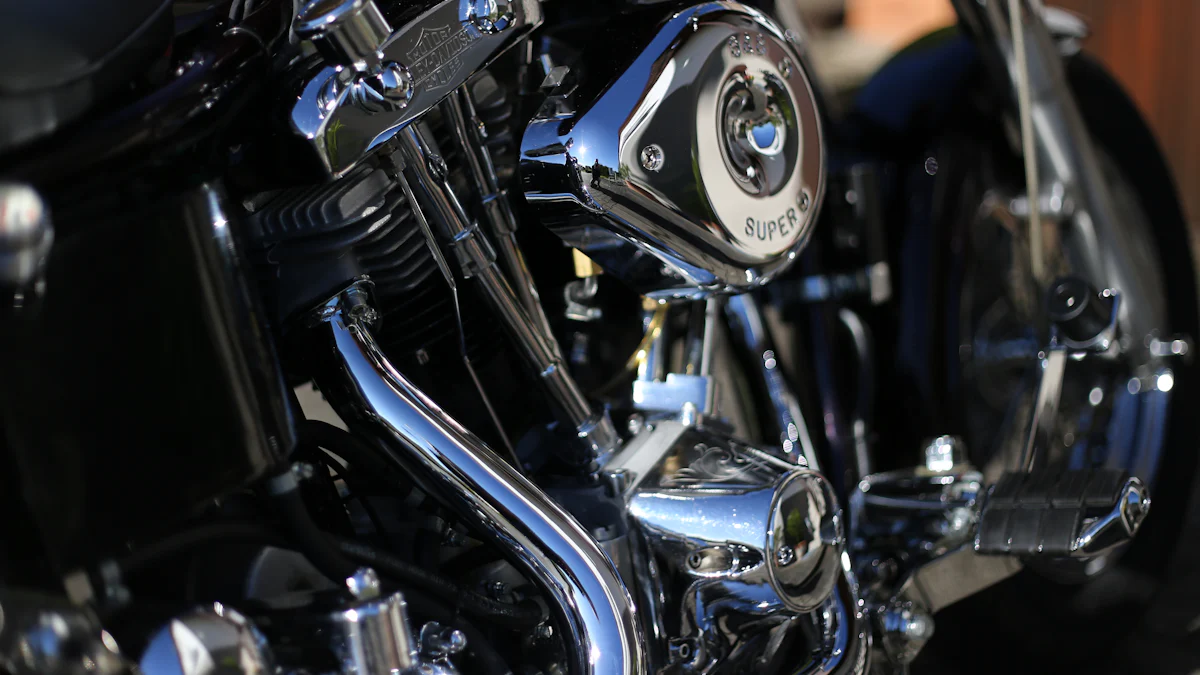
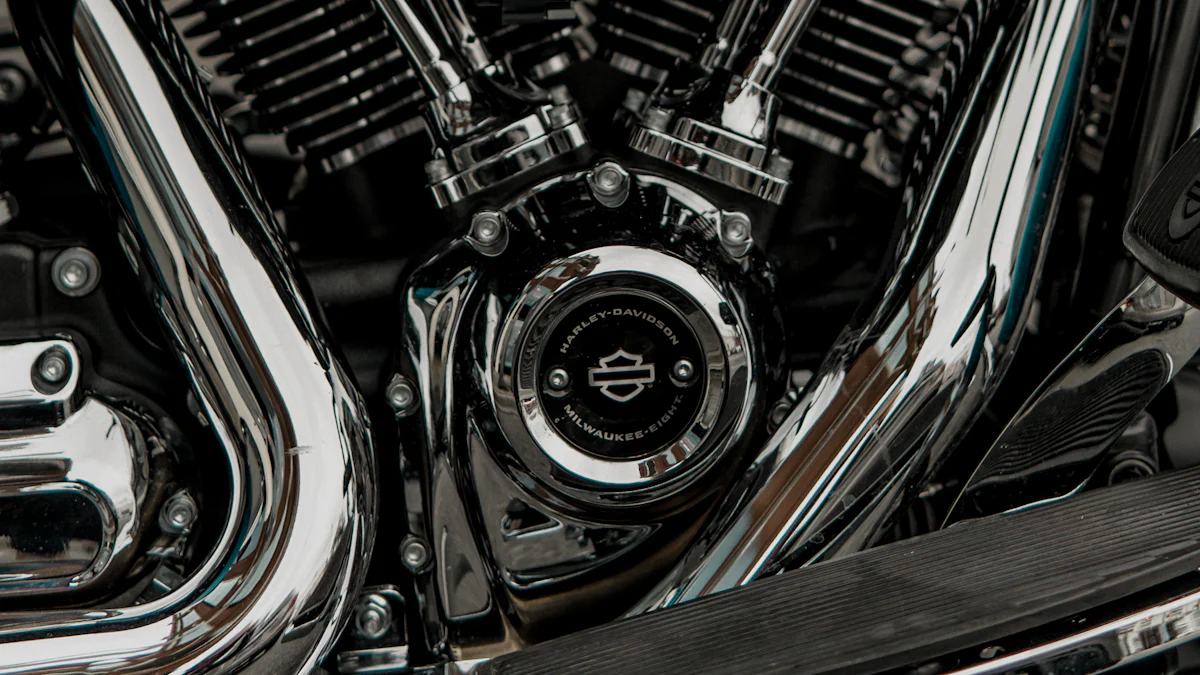
A compression test is a vital step in maintaining your Harley Davidson engine’s health. It helps you assess the engine’s internal condition by measuring the pressure inside the cylinders. Good compression ensures your engine runs efficiently, delivering the power and performance you expect. Low or uneven compression can signal issues like worn piston rings or valve problems, which may lead to reduced power or even engine failure. The best part? You don’t need to be a professional mechanic to check the compression. With the right tools and a bit of preparation, you can easily perform this test at home.
Key Takeaways
Regular compression testing is essential for maintaining your Harley Davidson engine’s health and performance.
A compression test can help identify issues like worn piston rings or valve problems before they lead to serious engine failure.
Gather the right tools, including a compression tester and socket wrench, to perform the test accurately at home.
Always warm up your engine before testing to ensure more accurate compression readings.
Record and compare compression readings across cylinders; significant differences may indicate underlying problems.
If you encounter low or uneven compression, consider performing a ‘wet test’ to pinpoint the issue more accurately.
Make compression testing a part of your routine maintenance to ensure your bike delivers optimal performance on the road.
Understanding Compression and Its Importance
What is Compression in a Harley Davidson Engine?
Compression refers to the pressure created inside your engine’s cylinders when the air-fuel mixture is compressed by the piston. This process is essential for generating the power that drives your Harley Davidson. When the piston moves upward, it squeezes the air-fuel mixture into a smaller space, creating the necessary conditions for combustion. The explosion that follows pushes the piston back down, producing the energy needed to keep your engine running smoothly.
In a Harley Davidson engine, proper compression ensures optimal torque, fuel efficiency, and throttle response. Without adequate compression, your bike may struggle to deliver the performance you expect. Low compression can lead to sluggish acceleration, poor fuel economy, or even difficulty starting the engine. Understanding this concept helps you appreciate why maintaining healthy compression levels is so critical.
Why is Engine Compression Testing Essential?
Testing your engine’s compression is like giving it a health checkup. It allows you to identify potential problems before they become major issues. For instance, low compression might indicate worn piston rings, damaged valves, or even a blown head gasket. These issues can severely impact your engine’s performance if left unaddressed.
Compression testing also helps you pinpoint the root cause of performance problems. Sometimes, symptoms like reduced power or poor throttle response are mistakenly attributed to carburetor or fuel system issues. However, these problems often stem from low compression. By performing a compression test, you can save time and money by addressing the actual cause.
Engines with higher compression ratios generally perform better, as they can produce more power without detonation. This principle has been true for decades, though modern fuel characteristics have influenced compression standards. Regular testing ensures your Harley Davidson engine maintains the right balance, delivering the power and reliability you need on the road.
Tools and Preparation for a Compression Test

Before diving into the actual compression test, you need to gather the right tools and prepare your Harley Davidson properly. This ensures accurate results and keeps your engine safe during the process. Let’s break it down step by step.
Essential Tools for Compression Testing
To perform a compression test, you’ll need a few specific tools. These are easy to find and designed to make the process straightforward:
Compression Tester: This is the most important tool. It measures the pressure inside your engine’s cylinders. Brands like the Jims Cylinder Compression Tester and the Lisle Compression Tester Tool for Harley-Davidson are reliable options. They’re available at specialty shops like Rollies Speed Shop or California Motorcycles.
Socket Wrench: You’ll need this to remove the spark plugs from your engine.
Compression Gauge: Some compression testers come with a built-in gauge, but if not, you’ll need a separate one to read the pressure accurately.
Gloves and Safety Glasses: These protect your hands and eyes while working on the engine.
Having these tools ready will save you time and ensure the test goes smoothly.
Preparing Your Harley Davidson for Testing
Preparation is key to getting accurate compression readings. Follow these steps to get your bike ready:
Warm Up the Engine: Start your Harley and let it run for a few minutes. A warm engine provides more accurate compression readings because the metal parts expand to their normal operating size.
Turn Off the Ignition: Once the engine is warm, turn off the ignition to prevent accidental starts during the test.
Remove the Spark Plugs: Use your socket wrench to carefully remove all the spark plugs. This allows the engine to crank freely and ensures proper airflow during the test.
Ground the Leads: Ground the spark plug leads to avoid damaging the ignition coil. This step is crucial for protecting your bike’s electrical system.
Taking these steps ensures your Harley is in the best condition for testing.
Safety Precautions to Follow
Safety should always come first when working on your motorcycle. Here are some precautions to keep in mind:
Work in a Well-Ventilated Area: Exhaust fumes can be harmful, so make sure you’re in a space with good airflow.
Avoid Loose Clothing: Loose sleeves or jewelry can get caught in moving parts. Wear fitted clothing to stay safe.
Use Proper Tools: Don’t improvise with tools that aren’t designed for compression testing. Using the right equipment, like a dedicated compression tester, reduces the risk of errors or damage.
Handle the Engine Carefully: The engine will be hot after warming it up. Use gloves to protect your hands from burns.
By following these precautions, you’ll create a safe environment for testing and avoid unnecessary risks.
Step-by-Step Guide to Check the Compression
Preparing the Engine for Testing
Before you dive into the actual compression test, you need to set up your Harley Davidson engine properly. This preparation ensures accurate results and protects your bike from unnecessary damage. Follow these steps to get started:
Warm Up the Engine: Start your motorcycle and let it idle for a few minutes. A warm engine provides more accurate compression readings because the metal components expand to their normal operating size. This step is crucial for reliable results.
Turn Off the Ignition: Once the engine is warm, switch off the ignition system. This prevents accidental starts while you work on the bike.
Remove the Spark Plugs: Use a socket wrench to carefully remove all spark plugs. Removing them allows the engine to crank freely and ensures proper airflow during the test.
Ground the Spark Plug Leads: Grounding the leads prevents damage to the ignition coil. Attach the leads to a grounded surface or use a grounding tool designed for this purpose.
Pro Tip: Always handle the engine with care, especially after warming it up. Use gloves to avoid burns and ensure your workspace is well-lit and organized.
Performing the Compression Test
Now that your engine is ready, it’s time to perform the compression test. This process is straightforward if you follow these steps:
Attach the Compression Tester: Screw the compression tester into the first spark plug hole. Make sure it’s snug but not overly tight to avoid damaging the threads.
Hold the Throttle Wide Open: Open the throttle completely. This step ensures maximum airflow into the cylinders, which is essential for an accurate reading.
Crank the Engine: Turn the engine over several times using the starter button. Watch the needle on the compression gauge. Stop cranking once the needle stops moving.
Record the Reading: Note the compression pressure displayed on the gauge. This number represents the pressure inside the cylinder in pounds per square inch (PSI).
Repeat for Each Cylinder: Move the compression tester to the next spark plug hole and repeat the process for all cylinders.
According to Todd from Lowbrow Customs, a compression test can reveal issues like worn piston rings, leaky head gaskets, or damaged valves. Regular testing helps you catch these problems early, ensuring your engine stays in top shape.
Recording and Analyzing the Results
Once you’ve completed the test, it’s time to analyze the data. Proper interpretation of the results will help you understand your engine’s condition.
Compare Readings Across Cylinders: All cylinders should have similar compression pressure readings. A significant difference between cylinders may indicate uneven wear or damage.
Check Against Manufacturer Specifications: Refer to your Harley Davidson’s manual for the recommended compression range. For most Harley engines, a healthy reading is around 120 PSI. A minimum of 90 to 100 PSI is usually required for the engine to start.
Identify Low Compression: If one or more cylinders show low compression, it could point to worn piston rings, valve issues, or a blown head gasket. Adding a small amount of oil to the cylinder and retesting can help pinpoint the problem. If the compression improves, the issue likely lies with the piston rings.
Quick Tip: If you’re buying a used Harley Davidson, performing a compression test can give you valuable insights into the engine’s health. It’s a simple way to avoid costly surprises down the road.
By carefully recording and analyzing your results, you’ll gain a clear understanding of your engine’s performance. This knowledge empowers you to address potential issues before they escalate.
How to Interpret Compression Test Results
Understanding your compression test results is crucial for assessing your Harley Davidson engine’s health. These readings reveal whether your engine is performing optimally or if there are underlying issues that need attention. Let’s break it down step by step.
Normal Compression Levels for Harley Davidson Engines
For most Harley Davidson engines, a healthy compression reading typically falls around 90 psi or higher. Ideally, all cylinders should show similar readings, with no more than a 10% difference between them. Consistency across cylinders indicates that your engine is balanced and functioning as it should.
Higher compression levels often mean better performance, but there’s a limit. Excessively high readings could signal carbon buildup in the combustion chamber, which might lead to detonation or knocking. On the other hand, if your readings dip below 90 psi, your engine may struggle to start or deliver adequate power.
Quick Tip: Always refer to your Harley Davidson manual for the recommended compression range specific to your model. This ensures you’re comparing your results against the correct standard.
Diagnosing Low Compression
Low compression in one or more cylinders can point to several potential problems. Common causes include:
Worn Piston Rings: These rings seal the combustion chamber. If they’re worn, gases can escape, reducing pressure.
Leaky Valves: Damaged or improperly seated valves can allow air to escape, leading to lower readings.
Blown Head Gasket: A damaged gasket can cause compression loss between cylinders or into the cooling system.
To narrow down the issue, you can perform a “wet test.” Add a small amount of oil into the cylinder and retest the compression. If the reading improves, the problem likely lies with the piston rings. If it doesn’t, the valves or head gasket may be the culprit.
Pro Tip: If you notice low compression across all cylinders, check for timing issues or a worn camshaft, as these can affect the entire engine.
Identifying Uneven Compression Across Cylinders
Uneven compression—where one cylinder’s reading differs significantly from the others—can indicate localized issues. For example:
A Single Cylinder with Low Compression: This often points to a specific problem, like a damaged valve or a crack in the cylinder wall.
Adjacent Cylinders with Low Compression: This could suggest a blown head gasket between the two cylinders.
When diagnosing uneven compression, pay attention to the percentage difference between cylinders. A variation greater than 10% warrants further investigation. Uneven readings can lead to rough idling, reduced power, and poor fuel efficiency.
Did You Know? Uneven compression can sometimes mimic symptoms of fuel or ignition problems. Performing a compression test helps you avoid misdiagnosing the issue.
By interpreting your compression test results accurately, you’ll gain valuable insights into your engine’s condition. This knowledge empowers you to address problems early, ensuring your Harley Davidson continues to deliver the performance you love.
Troubleshooting Common Compression Issues
When your Harley Davidson engine shows signs of low or uneven compression, it’s essential to address the problem promptly. Ignoring these issues can lead to poor performance, reduced fuel efficiency, or even engine failure. Let’s dive into the common causes and solutions for compression problems.
Causes of Low Compression in All Cylinders
Low compression across all cylinders usually points to a widespread issue affecting the entire engine. Here are some common culprits:
Worn Piston Rings: These rings seal the combustion chamber. Over time, they can wear out, allowing gases to escape and reducing compression.
Valve Timing Problems: Incorrect valve timing can prevent the air-fuel mixture from being properly compressed. This often happens due to a worn or misaligned camshaft.
Blown Head Gasket: A damaged head gasket can cause compression loss across multiple cylinders. This issue often comes with other symptoms like coolant leaks or overheating.
Carbon Buildup: Excessive carbon deposits in the combustion chamber can disrupt the sealing process, leading to lower compression.
Quick Tip: If you notice low compression in all cylinders, check the valve timing and inspect the head gasket for visible damage. These are common starting points for diagnosing the issue.
Addressing Low Compression in a Single Cylinder
When only one cylinder shows low compression, the problem is likely localized. Here’s what to look for:
Damaged Valves: A bent or improperly seated valve can allow air to escape, reducing compression in that cylinder.
Cracked Cylinder Wall: A crack in the cylinder wall can lead to pressure loss. This issue often requires professional repair.
Faulty Piston Rings: If the piston rings in one cylinder are worn or broken, they won’t create a proper seal.
To pinpoint the issue, perform a “wet test.” Add a small amount of oil to the cylinder and retest the compression. If the reading improves, the piston rings are likely the problem. If it doesn’t, focus on the valves or cylinder wall.
Pro Tip: When buying a used Harley Davidson, performing a quick cylinder compression test can reveal hidden issues. If you find low compression in one cylinder, use it as a bargaining chip to negotiate the price.
Resolving Uneven Compression Readings
Uneven compression—where one cylinder’s reading differs significantly from the others—can cause rough idling, poor throttle response, and reduced power. Here’s how to address it:
Inspect Adjacent Cylinders: If two neighboring cylinders show low compression, a blown head gasket between them might be the issue.
Check for Valve Damage: Uneven readings often result from a damaged valve in one cylinder. Inspect the valves for wear or improper seating.
Examine the Piston and Rings: A single cylinder with low compression could indicate worn or broken piston rings. Replacing them can restore balance.
Did You Know? Uneven compression can sometimes mimic carburetor or ignition problems. Many riders mistakenly blame these systems when the real issue lies in the engine’s compression.
By addressing these common compression issues, you’ll ensure your Harley Davidson engine runs smoothly and efficiently. Regular engine compression testing helps you catch problems early, saving you time and money in the long run.
Tips for Accurate Engine Compression Testing
Ensuring Consistent Testing Conditions
Getting reliable results from a compression test starts with consistency. You need to create the same conditions for each cylinder to ensure accurate readings. Here’s how you can do that:
Warm Up the Engine: Always test on a warm engine. Let your Harley run for a few minutes before starting. This ensures the metal parts expand to their normal operating size, giving you more precise readings.
Throttle Wide Open: Keep the throttle fully open during the test. This allows maximum airflow into the cylinders, which is crucial for accurate pressure measurements.
Use the Same Cranking Time: Crank the engine for the same duration for each cylinder. Watch the gauge and stop cranking as soon as the needle stabilizes. Uneven cranking can lead to inconsistent results.
Check Your Tools: Make sure your compression tester is in good condition. A faulty gauge or loose connections can throw off your readings.
Pro Tip: Perform the test in a quiet space. This helps you focus on the process and catch any unusual sounds from the engine that might indicate other issues.
Avoiding Common Mistakes During Testing
Even small mistakes can lead to inaccurate results or damage to your engine. Avoid these common pitfalls to make your compression test smooth and effective:
Skipping Spark Plug Removal: Always remove all spark plugs before testing. Leaving them in can create uneven resistance, affecting the engine’s ability to crank freely.
Failing to Ground Spark Plug Leads: Ground the leads to prevent damage to the ignition coil. Ignoring this step can result in costly repairs.
Using Improper Tools: Don’t improvise with tools not designed for compression testing. A proper compression tester ensures accurate readings and protects your engine.
Rushing the Process: Take your time. Double-check each step, from attaching the tester to recording the readings. Rushing increases the chance of errors.
Did You Know? Adding oil to the cylinder during a compression test is outdated. Leakdown testers replaced this method in the mid-1940s, offering a more precise way to diagnose issues.
When to Seek Professional Assistance
Sometimes, even with the best preparation, you might encounter challenges during a compression test. Knowing when to call in a professional can save you time and prevent further damage to your engine. Here are some scenarios where expert help is a good idea:
Unclear Results: If your readings vary widely or don’t match the manufacturer’s specifications, a mechanic can help interpret the data and identify the issue.
Persistent Low Compression: When adding oil to the cylinder doesn’t improve low compression, the problem might involve valves, gaskets, or cylinder walls. These require specialized tools and expertise to fix.
Complex Repairs: Issues like a blown head gasket or damaged piston rings often need professional repair. Attempting these fixes without proper knowledge can worsen the problem.
Quick Tip: If you’re unsure about your results, take your bike and the recorded readings to a trusted mechanic. They can confirm your findings and recommend the next steps.
By following these tips, you’ll ensure your compression test is accurate and valuable. Whether you’re troubleshooting an issue or performing routine maintenance, these steps will help you keep your Harley Davidson running at its best.
Regular compression testing keeps your Harley Davidson engine in peak condition. It helps you catch issues like worn piston rings or leaky valves before they escalate. By following the steps—warming up the engine, removing spark plugs, and using a compression tester—you can easily assess your engine’s health. Remember, consistent readings across cylinders indicate a balanced engine, while low or uneven compression signals potential problems. Make compression testing a part of your routine maintenance. It’s a simple yet powerful way to ensure your bike delivers the performance you love every time you hit the road.
FAQ
Do you need to warm up the engine before a compression test?
Not necessarily. Professional mechanics often skip warming up the engine before performing a compression test. It doesn’t significantly impact the results, so you can proceed with the test even if the engine is cold. However, warming it up can sometimes provide slightly more accurate readings since the metal parts expand to their operating size.
What is the purpose of a compression test on a motorcycle?
A compression test helps you uncover hidden issues inside your engine. It identifies compression loss, which can reduce your bike’s power and performance. Problems like worn piston rings, a leaky head gasket, or damaged valve seats often cause this loss. By performing this test, you can pinpoint these issues early and keep your Harley running smoothly.
Is a compression test useful when buying a used motorcycle?
Absolutely! A compression test is one of the best ways to assess the health of a used motorcycle’s engine. It reveals whether the engine has any internal problems, like low compression or uneven pressure across cylinders. If the results show issues, you can use that information to negotiate a better price or decide if the bike is worth buying at all.
What tools do you need for a compression test?
You don’t need much to perform a compression test. A basic compression tester, available at most auto parts stores, is the main tool required. Many testers come with built-in gauges, making it easy to measure the pressure in your engine’s cylinders. A socket wrench to remove spark plugs and gloves for safety are also helpful.
How often should you perform a compression test on your Harley Davidson?
Performing a compression test once a year or during routine maintenance is a good practice. If you notice performance issues like sluggish acceleration, poor fuel efficiency, or difficulty starting, it’s a good idea to test sooner. Regular testing helps you catch problems early and avoid costly repairs.
What does low compression mean for your engine?
Low compression usually signals trouble. It might mean your piston rings are worn, your valves aren’t sealing properly, or your head gasket is damaged. These issues can lead to reduced power, poor throttle response, or even engine failure. Identifying low compression early gives you a chance to fix the problem before it worsens.
Can you perform a compression test without professional help?
Yes, you can! A compression test is straightforward and doesn’t require advanced mechanical skills. With the right tools and a step-by-step guide, you can perform the test at home. Just make sure to follow safety precautions and double-check your results for accuracy.
What are normal compression levels for a Harley Davidson engine?
For most Harley Davidson engines, normal compression levels range around 90 PSI or higher. Ideally, all cylinders should have similar readings, with no more than a 10% difference between them. Consistent readings indicate a healthy engine, while low or uneven compression suggests potential problems.
What should you do if your compression test results are uneven?
Uneven compression readings often point to specific issues, like a damaged valve or a blown head gasket. Start by inspecting the cylinder with the low reading. Adding a small amount of oil to the cylinder and retesting can help you determine if the problem lies with the piston rings. If the issue persists, consult a professional mechanic for further diagnosis.
Is a compression test enough to diagnose all engine problems?
No, a compression test is just one diagnostic tool. While it’s excellent for identifying compression-related issues, it won’t reveal problems with your fuel system, ignition, or other components. If your bike still has performance issues after a compression test, consider additional diagnostics or seek professional help.
Alright folks, gave one7899vn a go. So far, so good! They have a good selection. Could be something to dig in to. one7899vn