
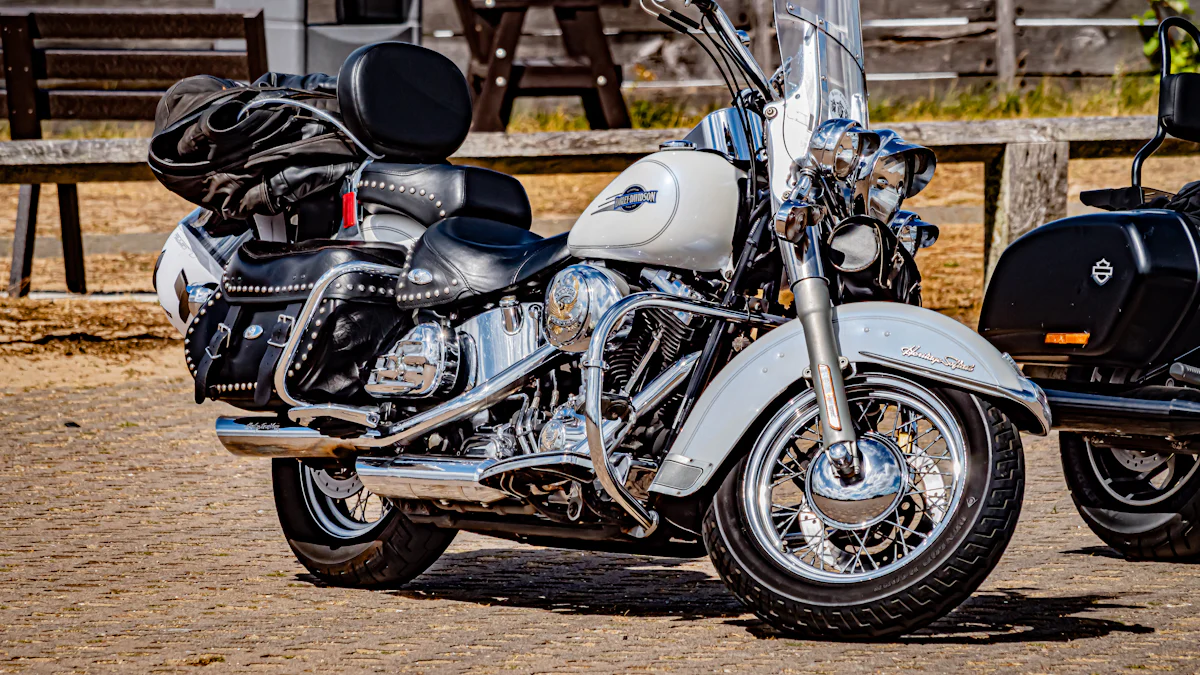
Adding a quick-release windshield to your Harley Davidson transforms your riding experience. It shields you from wind, debris, and weather while giving you the freedom to remove it whenever you want. Whether you’re heading out for a long road trip or a quick city ride, this accessory adapts to your needs. You can easily swap between riding with or without a windshield, making it perfect for riders who value flexibility. Plus, its simple design ensures you can install a quick-release windshield without hassle, enhancing both convenience and functionality.
Key Takeaways
Installing a quick-release windshield enhances your riding experience by providing protection from wind and debris while allowing for easy removal.
Gather all necessary tools and materials, including a compatible windshield kit, to ensure a smooth installation process.
Properly clean and prepare your motorcycle’s handlebars and forks to ensure a secure fit for the windshield.
Follow the step-by-step installation process carefully, ensuring all components are aligned and tightened to prevent instability while riding.
Regularly inspect and maintain your windshield to keep it functioning well and looking great, enhancing both safety and comfort.
Adjust the windshield’s height and angle to ensure optimal protection without obstructing your view, improving your overall riding experience.
Utilize quick-release clamps for easy detachment and reattachment, allowing you to switch between riding with and without the windshield effortlessly.
Tools and Materials Needed
Before you start installing your quick-release windshield, gather the necessary tools and materials. Having everything ready will make the process smoother and save you time.
Essential Tools
Allen wrenches or hex keys
You’ll need a set of Allen wrenches or hex keys to tighten the mounting hardware. These tools are essential for securing the brackets and clamps to your Harley’s forks. Make sure the sizes match the screws in your windshield kit.
Torque wrench (optional but recommended for precise tightening)
A torque wrench isn’t mandatory, but it’s a great tool for ensuring the hardware is tightened to the manufacturer’s specifications. Proper torque prevents over-tightening, which could damage the components, and under-tightening, which might cause instability.
Materials
Quick-release windshield kit (specific to your Harley model)
Choose a windshield kit designed for your Harley model. For example, the Detachable Quick-Release Windshield for Harley-Davidson is compatible with several models, including Touring Road King. Always verify compatibility before purchasing. The kit typically includes the windshield, mounting brackets, and clamps.
Cleaning supplies (microfiber cloth, mild soap, water)
Clean surfaces ensure a secure fit. Use a microfiber cloth with mild soap and water to remove dirt and debris from the handlebars and forks. Avoid harsh chemicals that could damage your bike’s finish.
Lubricant (optional for clamps)
A small amount of lubricant can help the clamps slide into place more easily. It’s especially useful if the clamps feel stiff during installation. However, use it sparingly to avoid attracting dirt.
Pro Tip: Harley-Davidson emphasizes the importance of inspecting all components in the kit before installation. Check for any damage or missing parts to avoid issues later.
Having these tools and materials on hand will set you up for a hassle-free installation. With the right preparation, attaching your hd quick detachable windshield becomes a straightforward task.
Preparation Steps
Prepare Your Motorcycle
Park the motorcycle on a flat, stable surface.
Start by parking your Harley on a flat and stable surface. This ensures the bike remains steady while you work. A level surface minimizes the risk of tipping over, giving you a safe and secure workspace. If you have a motorcycle stand, use it for added stability.
Clean the handlebars and front forks to remove debris.
Next, clean the handlebars and front forks thoroughly. Use a microfiber cloth with mild soap and water to wipe away dirt, dust, and grime. A clean surface ensures the mounting hardware attaches securely. Avoid using harsh chemicals that could damage your bike’s finish.
Tip: Pay extra attention to areas where the clamps will attach. Even small particles can interfere with a snug fit.
Inspect the Windshield Kit
Verify all components are included and undamaged.
Before diving into the installation, inspect your windshield kit. Lay out all the components and check for any missing or damaged parts. Most kits include the windshield, mounting brackets, clamps, and screws. If anything is missing or defective, contact the manufacturer or retailer for replacements.
Familiarize yourself with the mounting hardware and instructions.
Take a few minutes to review the instructions provided with your kit. Each model may have slight variations in the installation process. Understanding the steps beforehand will save you time and prevent mistakes. Examine the mounting hardware to see how each piece fits together.
Pro Tip: Some manufacturers include diagrams or videos to guide you. These can be incredibly helpful if you’re new to installing windshields.
Positioning Tips
Ensure the top edge of the windshield is 2-3 inches above your line of sight for optimal protection.
Proper positioning is key to getting the most out of your windshield. Sit on your motorcycle and hold the windshield in place to check its height. The top edge should sit 2-3 inches above your line of sight. This placement provides maximum wind and debris protection without obstructing your view of the road.
Did You Know? A poorly positioned windshield can cause turbulence or reduce visibility. Taking the time to adjust it correctly enhances both safety and comfort.
By following these preparation steps, you’ll set yourself up for a smooth and hassle-free installation. A little effort now will ensure your windshield fits securely and performs at its best.
Step-by-Step Installation Process
Installing a quick-release windshield on your Harley is a straightforward process when you follow these steps. Take your time, and you’ll have it securely in place in no time.
Install the Mounting Hardware
Loosely attach the mounting brackets to the designated points on the forks.
Start by attaching the mounting brackets to the forks of your motorcycle. Don’t tighten them completely yet—leave them slightly loose. This allows you to make adjustments later for proper alignment. Use the Allen wrenches or hex keys from your toolkit to secure the screws. Keeping the brackets loose at this stage ensures flexibility when positioning the windshield.
Tip: Double-check the instructions in your windshield kit. Each model may have specific mounting points, so it’s important to follow the guide provided.
Use Belleville washers correctly, ensuring the cupped sides face each other.
When installing the Belleville washers, make sure the cupped sides face each other. This step is crucial for creating a secure and stable connection. These washers act as a spring, maintaining tension and preventing the hardware from loosening over time. Skipping this detail could lead to vibration or instability while riding.
Pro Tip: If you’re unsure about the washer placement, refer to the diagram in your kit or watch a quick video tutorial online for visual guidance.
Align and Attach the Windshield
Center the windshield on the bike and align it with the mounting brackets.
Hold the windshield up to your motorcycle and align it with the mounting brackets. Make sure it’s centered properly. A misaligned windshield can cause uneven wind resistance or even affect your bike’s balance. Take a step back and visually confirm that everything lines up before proceeding.
Did You Know? A well-aligned windshield not only improves aerodynamics but also enhances the overall look of your Harley.
Push the top of the windshield toward the rear until the upper notches engage the mounting points.
Once aligned, gently push the top of the windshield toward the rear of the bike. This action allows the upper notches to engage with the mounting points. You should feel or hear a slight click when the notches lock into place. If it doesn’t engage easily, check the alignment again and adjust as needed.
Tip: Clean the mounting points beforehand to ensure a smooth fit. Dust or debris can interfere with the notches locking securely.
Secure and Adjust
Tighten all hardware evenly to secure the windshield.
Now that the windshield is in place, go back to the mounting brackets and tighten all the screws evenly. Use your Allen wrenches or a torque wrench for precise tightening. Avoid over-tightening, as this could damage the brackets or clamps. Evenly secured hardware ensures the windshield stays stable during your rides.
Pro Tip: If you have a torque wrench, use it to tighten the screws to the manufacturer’s recommended specifications. This step adds an extra layer of security.
Adjust the angle of the windshield to your preference and lock the quick-release clamps.
Finally, adjust the angle of the windshield to suit your riding style. Sit on your motorcycle and check the height and tilt. The top edge should sit 2-3 inches above your line of sight for optimal protection. Once you’re satisfied with the position, lock the quick-release clamps to secure everything in place.
Reminder: Quick-release windshields are designed for easy removal and reattachment. If you need to make adjustments later, simply unlock the clamps and reposition the windshield.
By following these steps, you’ll successfully install a quick-release windshield on your Harley. This process not only enhances your bike’s functionality but also improves your overall riding experience. Whether you’re gearing up for a long road trip or a casual ride, your new windshield will provide the protection and flexibility you need.
Troubleshooting Common Issues
Even with careful preparation and installation, you might encounter a few hiccups when attaching your quick-release windshield. Don’t worry—most issues are easy to fix with a little troubleshooting. Here’s how you can address the most common problems.
Windshield Doesn’t Fit Properly
Confirm you have the correct windshield kit for your Harley model.
If the windshield doesn’t seem to fit, double-check that you’re using the right kit for your Harley model. Manufacturers design windshield kits to match specific models, so using an incompatible one can cause alignment problems. Look at the product details or instructions to confirm compatibility. If you’re unsure, reach out to the retailer or manufacturer for clarification.
Recheck the alignment of the mounting brackets and hardware.
Misaligned brackets or hardware often lead to improper fitting. Loosen the mounting brackets slightly and realign them with the designated points on your motorcycle. Make sure everything lines up perfectly before tightening the screws. A small adjustment can make a big difference in achieving a snug fit.
Pro Tip: Stand back and visually inspect the windshield after aligning it. This helps you spot any misalignment that might not be obvious up close.
Difficulty Locking the Quick-Release Clamps
Clean the clamps and mounting points to remove debris.
If the quick-release clamps won’t lock, dirt or debris might be the culprit. Use a microfiber cloth to clean the clamps and mounting points thoroughly. Even a small amount of grime can interfere with the locking mechanism. Keeping these areas clean ensures smooth operation.
Apply a small amount of lubricant to the clamps if necessary.
Stiff clamps can make locking difficult. A tiny dab of lubricant can help them slide into place more easily. Apply it sparingly to avoid attracting dust or dirt. If the clamps still don’t lock after cleaning and lubricating, inspect them for damage or wear.
Did You Know? Regular maintenance of your quick-release clamps can extend their lifespan and keep them functioning smoothly.
Windshield Vibrates While Riding
Tighten the mounting hardware and clamps securely.
Vibration usually means something isn’t tight enough. Check all the screws, brackets, and clamps to ensure they’re securely fastened. Use an Allen wrench or torque wrench to tighten them evenly. Avoid over-tightening, as this can damage the components.
Verify the windshield is properly seated in the brackets.
A poorly seated windshield can also cause vibration. Double-check that the windshield’s notches are fully engaged with the mounting points. Push the top of the windshield toward the rear of the bike until you hear or feel it click into place. This ensures a stable connection.
Reminder: Regularly inspect your windshield for stability, especially after long rides or rough terrain. A quick check can prevent issues before they arise.
By addressing these common issues, you’ll ensure your quick detach windshield performs at its best. Troubleshooting might take a little extra time, but it guarantees a safer and more enjoyable ride.
Installing a quick-release windshield on your Harley Davidson transforms your riding experience. It’s a simple process that adds comfort and protection while giving you the flexibility to adapt to different riding conditions. By following the steps in this guide, you’ll have your windshield securely in place in no time.
To keep it performing at its best, make regular maintenance a habit. Clean it with a gentle, non-abrasive cleaner to prevent scratches and maintain clarity. Check its stability often and adjust the angle for maximum comfort. With proper care, your windshield will stay functional and look great for years to come.
FAQ
What is a Quick-Release Touring Windshield?
A quick-release touring windshield is a detachable windshield designed for long rides. It attaches to your Harley’s forks using quick-release clamps, which means you can remove it without leaving any hardware behind. This type of windshield provides excellent wind and debris protection, making it ideal for extended road trips.
Tip: If you’re planning a long journey, this windshield offers both comfort and convenience, allowing you to enjoy the ride without battling wind fatigue.
What is a Quick-Release Compact Windshield?
A quick-release compact windshield works similarly to the touring version but is smaller and more lightweight. It also mounts to the forks with quick-release clamps, leaving no hardware on your bike when removed. This option is perfect for city rides or shorter trips where you want some wind protection without the bulk of a larger windshield.
Did You Know? Compact windshields are great for maintaining a sleek look while still offering functionality.
How Do I Know Which Windshield Fits My Harley?
To find the right windshield, check the compatibility details provided by the manufacturer. Most quick-release windshields are designed for specific Harley models. Look for a kit that matches your bike’s make, model, and year. If you’re unsure, consult your Harley dealer or the product’s customer support team.
Pro Tip: Always double-check the product description and installation guide before purchasing to avoid compatibility issues.
Can I Install a Quick-Release Windshield Without Professional Help?
Yes, you can! Quick-release windshields are designed for easy installation. With the right tools and a bit of patience, you can attach it yourself by following the step-by-step instructions in this guide. Most kits include all the necessary hardware, so you won’t need additional parts.
Reminder: Take your time during installation to ensure everything is aligned and securely fastened.
How Do I Adjust the Windshield for Maximum Comfort?
To adjust your windshield, sit on your motorcycle and check the height and angle. The top edge should be 2-3 inches above your line of sight. This positioning provides optimal wind protection without obstructing your view. Once you find the right angle, lock the quick-release clamps to secure it.
Quick Tip: Test the windshield’s position on a short ride to make sure it feels comfortable and doesn’t create turbulence.
What Should I Do If My Windshield Vibrates While Riding?
If your windshield vibrates, check the mounting hardware and clamps. Tighten them evenly to ensure a secure fit. Also, verify that the windshield is properly seated in the brackets. Push it toward the rear until the notches fully engage the mounting points.
Did You Know? Regularly inspecting your windshield’s stability can prevent vibration issues and improve your riding experience.
Can I Switch Between Riding With and Without the Windshield?
Absolutely! That’s the beauty of a quick-release windshield. You can easily detach it when you want an open-air ride and reattach it when you need wind protection. The quick-release clamps make this process fast and hassle-free.
Pro Tip: Store your windshield in a safe place when not in use to avoid scratches or damage.
How Do I Maintain My Quick-Release Windshield?
To keep your windshield in top condition, clean it regularly with a microfiber cloth and mild soap. Avoid abrasive cleaners that could scratch the surface. Check the clamps and hardware periodically to ensure they remain in good working order.
Reminder: A well-maintained windshield not only looks great but also performs better over time.
Are Quick-Release Windshields Durable?
Yes, quick-release windshields are built to last. They’re made from high-quality materials like polycarbonate or acrylic, which resist impact and weather damage. With proper care, your windshield can provide years of reliable service.
Did You Know? Investing in a high-quality windshield ensures better durability and performance, especially during long rides.
Can I Use Lubricant on the Clamps?
Yes, a small amount of lubricant can help the clamps slide into place more easily. Apply it sparingly to avoid attracting dirt. If the clamps feel stiff or difficult to lock, cleaning and lubricating them can improve their functionality.
Quick Tip: Use a silicone-based lubricant for best results, as it won’t damage the clamps or surrounding components.
123wincom30? Another one bites the dust… or maybe not! Worth a quick look at least. Are their bonuses any good tho’? I wonder. 123wincom30