Upgrading your Harley with custom foot pegs is a simple way to add both comfort and style to your ride. These pegs not only enhance the look of your bike but also improve your overall riding experience. Many riders find that high-quality foot pegs feel more secure and provide better support during long trips. If you want to install custom foot pegs yourself, it can be a rewarding project. With the right tools and a little patience, you’ll have your new foot pegs installed in no time, giving your Harley Davidson a personalized touch that stands out.
Key Takeaways
Upgrading to custom foot pegs enhances both comfort and style, making your riding experience more enjoyable.
Gather essential tools like needle-nose pliers and Allen wrenches before starting the installation to ensure a smooth process.
Stabilize your motorcycle on a flat surface and clean the mounting area to avoid common installation issues.
Align the new foot pegs correctly and secure them with the provided hardware to ensure safety and functionality.
Test the foot pegs after installation to confirm stability and comfort, making adjustments as needed for optimal positioning.
Regularly inspect and maintain your foot pegs to prolong their lifespan and ensure a secure fit during rides.
Tools and Materials Needed for Installing Custom Foot Pegs
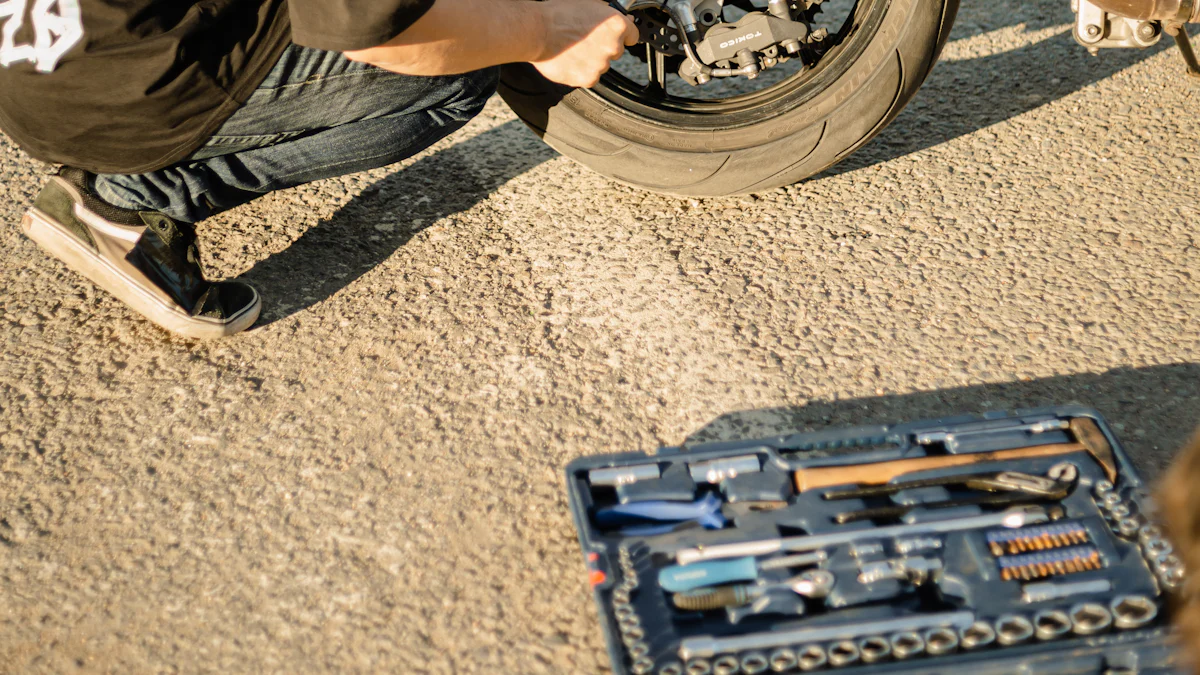
Before you dive into installing custom foot pegs on your Harley, gathering the right tools and materials is essential. Having everything ready will save you time and make the process smoother. Here’s what you’ll need:
Essential Tools
To get started, you’ll need a few basic tools that are likely already in your toolbox. These tools will help you remove the old foot pegs and secure the new ones properly:
Needle-nose pliers: Perfect for handling small parts like clips and pins.
Rubber mallet or hammer: Useful for gently tapping components into place without causing damage.
Flat-blade screwdriver: Helps with prying off clips or adjusting tight spaces.
Allen sockets or wrenches: Necessary for loosening or tightening bolts, especially if your Harley has forward controls.
These tools are straightforward to use and will ensure you can handle the installation confidently.
Required Materials
When it comes to materials, you’ll need a few key items to complete the job:
Custom foot pegs: Choose high-quality options like the SGS Primo Deluxe Foot Pegs or TC Bros Nomad Foot Pegs. These are designed for easy installation and provide excellent grip and comfort.
Mounting hardware: Most foot pegs come with the necessary bolts, pins, and washers. For example, the XYZMT Motorcycle Foot Pegs Kit includes extra spring clips and polished hardware for a secure fit.
Grease: Apply grease to the contact points of the foot peg mount and pin. This ensures smooth operation and prevents wear over time.
Make sure the foot pegs you select are compatible with your Harley model. Compatibility is crucial for a secure and functional installation.
Optional Items for Easier Installation
While not mandatory, these items can make the process quicker and more convenient:
Spring washer: Some foot pegs include this, but having an extra one on hand can be helpful for added stability.
Torque wrench: Ensures you tighten bolts to the correct specifications, avoiding over-tightening or loose fittings.
Cleaning supplies: A clean mounting area improves the fit and longevity of your new foot pegs. Use a cloth and mild cleaner to remove dirt and debris.
Having these optional items can simplify the installation process and give you peace of mind that everything is done right.
“Start the reinstallation by fixing the flat part towards the rear end of the space. Do not forget to insert your spring washer as you install the peg properly.” – HD Parts Installation Instructions
With the right tools and materials, you’re all set to begin upgrading your Harley. Taking the time to prepare ensures a hassle-free experience and a professional-looking result.
Preparation Steps Before You Install Custom Foot Pegs
Before you start installing your custom foot pegs, taking a few preparatory steps can make the process smoother and more efficient. Proper preparation ensures that you avoid common mistakes and get the best results.
Stabilizing Your Motorcycle
Stability is key when working on your Harley. You don’t want your bike shifting or tipping over while you’re removing or installing parts. Start by parking your motorcycle on a flat, solid surface. Use a motorcycle stand or lift to keep it upright and secure. If you don’t have a stand, the kickstand can work, but double-check that the bike is stable before proceeding.
“By riding with the balls of our feet on our foot peg or floorboard, we are better able to handle various riding situations.”
This advice highlights the importance of proper foot positioning, which starts with securely installed foot pegs. A stable bike ensures you can focus on the task without worrying about accidents.
Inspecting and Cleaning the Mounting Area
Before you remove the old foot pegs, take a moment to inspect the mounting area. Look for any signs of rust, dirt, or damage. Dirt and debris can interfere with the installation of your new foot pegs, so cleaning is essential. Use a clean cloth and a mild cleaner to wipe down the area. For stubborn grime, a small brush can help you reach tight spots.
Pay attention to the mounting bracket and hardware. If you notice any worn-out parts, consider replacing them to ensure a secure fit for your new pegs. A clean and well-maintained mounting area not only makes installation easier but also extends the life of your custom foot pegs.
Organizing Tools and Materials
Having everything you need within arm’s reach saves time and frustration. Lay out all your tools and materials in an organized manner. Refer back to the list of essential tools and required materials to make sure you’re fully prepared. Place small items like pins, washers, and bolts in a tray or container to prevent them from getting lost.
“A big thing to remember when you go to remove the brake pedal pin is to check the backside to see if there is a cotter pin or some kind of lock nut.”
This tip serves as a reminder to double-check your hardware before starting. Being organized helps you avoid missing crucial steps or damaging parts during the process.
By stabilizing your motorcycle, cleaning the mounting area, and organizing your tools, you set yourself up for a hassle-free installation. These simple steps ensure that your custom foot pegs fit perfectly and function as intended.
How to Remove Old Foot Pegs
Removing the old foot pegs from your Harley is a crucial step before installing the new ones. By following these steps, you’ll ensure a smooth transition and avoid damaging any components.
Identifying the Mounting Hardware
Start by locating the mounting hardware that secures the foot pegs to your bike. Most Harley models use a clevis fork to hold the foot pegs in place. You’ll notice that one side of the clevis fork is longer than the other. This design helps keep the peg stable while allowing for easy removal.
Take a close look at the bolts, pins, or clips holding the foot pegs. Use a flashlight if needed to get a clear view of the area. If there’s a cotter pin or locking clip, make a mental note of its position. These small parts are essential for reassembly, so handle them carefully.
“Remove the foot pegs on your bike. Doing so will reveal a clevis fork that looks like this: Too long on one side, just right on the other.” – Motorcycle Mechanic
This insight highlights the importance of understanding the clevis fork’s structure before proceeding. Knowing how it works makes the removal process much easier.
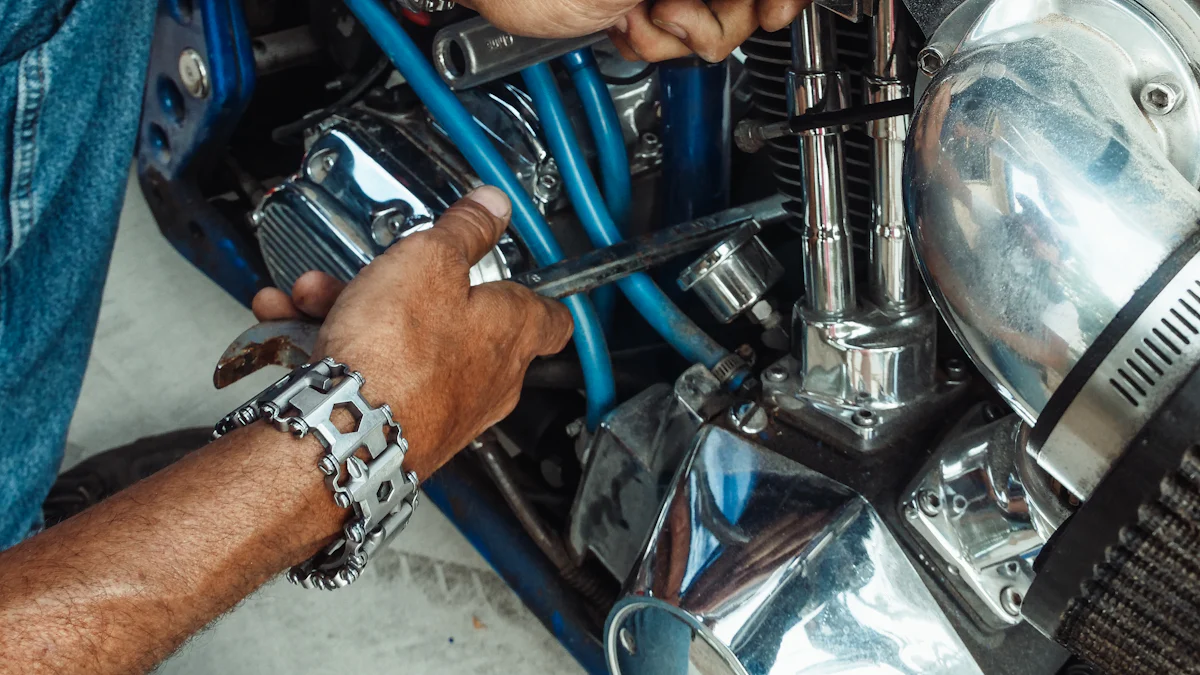
Loosening and Removing the Foot Pegs
Once you’ve identified the hardware, it’s time to loosen and remove the foot pegs. Use needle-nose pliers to carefully remove any clips or pins. If the hardware feels stuck, apply gentle pressure with a flat-blade screwdriver to pry it loose. Avoid using excessive force, as this could damage the mounting bracket.
Next, use an Allen wrench or socket to unscrew the bolts holding the foot pegs. Turn the wrench counterclockwise to loosen the bolts. If the bolts are tight, a rubber mallet can help you tap the wrench for extra leverage. Once the bolts are loose, slide the foot pegs out of the clevis fork.
Keep all the removed hardware, including bolts, pins, and washers, in a small container. This prevents you from losing any parts during the process.
Cleaning the Mounting Bracket
After removing the old foot pegs, take a moment to inspect the mounting bracket. Dirt, grease, and rust can accumulate over time, affecting the fit of your new foot pegs. Use a clean cloth and a mild cleaner to wipe down the bracket. For stubborn grime, a small brush works well to scrub hard-to-reach areas.
Check the bracket for any signs of wear or damage. If you notice cracks or excessive rust, consider replacing the bracket to ensure a secure installation. A clean and well-maintained bracket not only improves the appearance of your bike but also enhances the functionality of your new foot pegs.
By carefully removing the old foot pegs and cleaning the mounting area, you’re setting the stage for a successful installation. Taking the time to do this step right ensures your new foot pegs will fit securely and perform flawlessly.
Step-by-Step Process to Install Custom Foot Pegs
Installing custom foot pegs on your Harley is an exciting step that brings both functionality and style to your ride. Follow these steps to ensure a smooth and secure installation process.
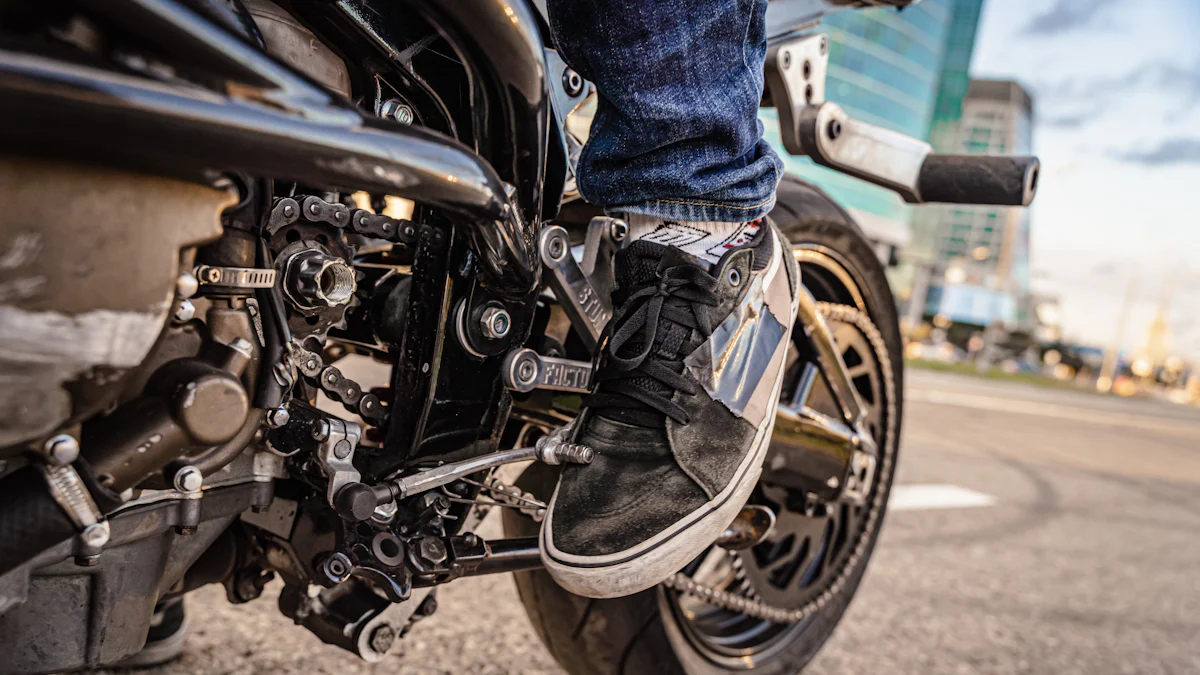
Aligning the New Foot Pegs
Start by positioning the new foot pegs in the mounting bracket. Make sure the flat part of the peg faces the rear of the bike, as this orientation ensures proper support and comfort. If you’re using high-quality options like Biltwell foot pegs, you’ll notice they are designed for an easy fit. Slide the peg into the clevis fork, ensuring it aligns perfectly with the mounting holes.
Take your time during this step. Misalignment can lead to issues later, so double-check that the peg sits flush against the bracket. A properly aligned peg not only looks great but also provides a stable platform for your feet while riding.
“The flat part of the foot peg should face the rear, curving outwards for optimal positioning.”
This tip ensures you get the alignment right from the start, setting the stage for a secure installation.
Securing the Foot Pegs with Hardware
Once the foot peg is aligned, it’s time to secure it using the provided hardware. Insert the mounting pin through the holes in the clevis fork and the foot peg. If your kit includes a spacer washer, place it on the pin before inserting it. This washer adds stability and prevents unnecessary movement, which could wear down the components over time.
After inserting the pin, attach the cotter pin to lock everything in place. Bend the ends of the cotter pin at a 90-degree angle to secure it firmly. For added security, wrap each end around the sides of the mounting pin. This technique minimizes movement and ensures the cotter pin stays in place during rides.
“Don’t forget the spacer washer—it gives the pin more surface area to press against, reducing wear and tear.”
This small detail can make a big difference in the longevity and performance of your new foot pegs.
Ensuring Proper Fit and Functionality
With the foot pegs secured, test their movement to ensure they pivot smoothly without excessive play. Apply a small amount of grease to the contact points between the peg and the mounting bracket. This reduces friction and helps the peg move freely when needed.
Next, check the tightness of all bolts and pins. Use a torque wrench if possible to ensure everything is tightened to the manufacturer’s specifications. Over-tightening can damage the hardware, while loose fittings can compromise safety.
Finally, step back and inspect your work. The foot pegs should sit evenly on both sides of the bike. If you notice any wobbling or misalignment, revisit the previous steps to make adjustments. Once everything looks and feels right, you’re ready to enjoy your upgraded ride.
“Properly installed foot pegs not only enhance comfort but also improve your control over the bike during long rides.”
By following these steps, you’ll ensure your custom foot pegs are securely installed and ready for the road.
Troubleshooting Common Issues When You Install Custom Foot Pegs
Even with careful preparation and installation, you might encounter a few hiccups when installing custom foot pegs on your Harley. Don’t worry—most issues are easy to fix with a little patience and the right approach. Here’s how you can address some of the most common problems.
Fixing Misalignment Problems
Misalignment can make your foot pegs feel awkward or unstable. If you notice this issue, start by double-checking the orientation of the peg. The flat part should face the rear of the bike, curving outward for proper positioning. If it’s not aligned correctly, loosen the mounting pin or bolts and adjust the peg until it sits flush against the bracket.
Sometimes, debris or uneven surfaces on the mounting bracket can cause alignment issues. Clean the area thoroughly with a cloth and mild cleaner. For stubborn grime, use a small brush to scrub the surface. Once clean, reinstall the peg and check its alignment again.
“Foot position plays a big role in riding comfort and control. Ensuring proper alignment helps you stay active and effective in the saddle.”
If the peg still doesn’t align, inspect the mounting hardware. Bent pins or worn-out brackets might need replacement to achieve a proper fit. Always use high-quality components to avoid recurring alignment problems.
Addressing Tightening Difficulties
Struggling to tighten the bolts or pins? This often happens when threads are dirty or damaged. Start by inspecting the threads on both the bolt and the mounting hole. Clean them with a wire brush to remove dirt or rust. Apply a small amount of grease to the threads to ensure smooth tightening.
If the bolt feels stuck or won’t turn easily, avoid forcing it. Over-tightening can strip the threads or damage the bracket. Instead, use a torque wrench to apply the correct amount of pressure. This tool ensures you don’t overtighten while still securing the peg firmly.
For bolts that won’t stay tight, consider using thread-locking adhesive. Apply a small drop to the threads before tightening. This prevents the bolt from loosening due to vibrations during rides. Just make sure not to overuse the adhesive, as it can make future adjustments difficult.
“A torque wrench and thread-locking adhesive are your best friends when dealing with tightening issues. They ensure a secure fit without damaging your bike.”
Resolving Loose or Wobbly Foot Pegs
Loose or wobbly foot pegs can feel unsafe and reduce your control over the bike. To fix this, first check the mounting pin and hardware. Ensure the pin is fully inserted and the cotter pin is bent securely to lock it in place. If the cotter pin is missing or damaged, replace it immediately.
Inspect the spacer washer, if included in your kit. This small piece adds stability by reducing movement between the peg and the bracket. If your foot pegs didn’t come with one, consider adding it for extra support.
Grease can also play a role in resolving wobbliness. Apply a thin layer to the contact points between the peg and the bracket. This reduces friction and allows the peg to pivot smoothly without excessive play.
“Loose foot pegs often result from missing or improperly installed hardware. Double-check every component to ensure a snug and secure fit.”
Finally, test the foot pegs by applying pressure with your hands. They should feel firm and stable, with no noticeable movement. If they still wobble, revisit the installation steps to identify any missed details.
By addressing these common issues, you’ll ensure your custom foot pegs are not only secure but also comfortable and functional. Troubleshooting might take a little extra time, but it’s worth the effort to enjoy a safe and smooth ride.
Final Adjustments and Testing After Installation
After installing your custom foot pegs, taking the time to make final adjustments and test their functionality ensures a safe and comfortable ride. This step helps you fine-tune the setup to match your preferences and riding style.
Testing the Foot Pegs for Stability
Start by checking the stability of the foot pegs. Apply pressure with your hands to confirm they are firmly secured. Wiggle them slightly to ensure there’s no unnecessary movement or wobbling. If you notice any looseness, revisit the installation steps. Double-check the mounting hardware, including the bolts, pins, and washers, to ensure everything is tightened correctly.
A stable foot peg is essential for maintaining control while riding. It also prevents discomfort during long trips. If you used grease during installation, confirm that it hasn’t caused the peg to slip or shift. Wipe off any excess grease if necessary.
“Foot peg stability directly impacts your riding experience. A secure fit ensures better control and comfort on the road.” – Dallas Harley-Davidson
Making Final Position Adjustments
Once you’ve confirmed stability, focus on the positioning of the foot pegs. The placement of your feet on the pegs can significantly affect your comfort and control. Sit on your Harley and place your feet on the pegs. Pay attention to how natural and comfortable the position feels. If the pegs feel too far forward, backward, or angled awkwardly, adjust them accordingly.
To reposition the pegs, loosen the mounting hardware slightly. Rotate or slide the pegs to the desired angle or position. Tighten the hardware again once you’re satisfied. Keep in mind that factors like your height, riding habits, and even the type of boots you wear can influence the ideal foot peg position.
“Riders often need to adjust foot pegs based on their individual preferences and riding style. Small changes can make a big difference in comfort.” – Team Arizona
Take your time with this step. Proper positioning not only enhances comfort but also improves your ability to handle the bike effectively, especially during long rides or challenging terrains.
Taking a Test Ride to Confirm Comfort and Security
The final step is to take your Harley out for a test ride. Start with a short ride around your neighborhood or a nearby parking lot. Pay close attention to how the foot pegs feel under your feet. Are they stable? Do they provide enough support? Is the positioning comfortable for your riding posture?
During the ride, test different scenarios. Shift your weight, change gears, and brake to see how the pegs respond. If you notice any discomfort or instability, stop and make further adjustments. Sometimes, even minor tweaks can make a significant difference.
“The position of your feet on the pegs affects both comfort and effectiveness while riding. A test ride helps you fine-tune the setup for optimal performance.” – Team Arizona
After the test ride, inspect the foot pegs again. Check for any signs of loosening or misalignment. If everything looks and feels right, you’re ready to hit the road with confidence.
By testing the stability, adjusting the position, and taking a test ride, you ensure that your custom foot pegs are perfectly tailored to your needs. These final steps guarantee a secure and comfortable fit, enhancing both your safety and enjoyment on every ride.
Installing custom foot pegs on your Harley Davidson is more than just a DIY project—it’s a way to elevate your bike’s comfort, safety, and style. By following this guide, you’ve not only ensured a secure fit but also added a personal touch that reflects your unique taste. Custom foot pegs improve grip and support, making long rides more enjoyable. They also enhance the overall look of your Harley Davidson, giving it a sleek and customized appearance. Now, you’re ready to hit the road with confidence and enjoy the ride like never before.
FAQ
What are the benefits of installing custom foot pegs on a Harley?
Custom foot pegs improve both comfort and style. They provide better grip and support, especially during long rides. Many riders also choose custom pegs to give their bike a personalized look that reflects their unique taste.
How do I know if the foot pegs are compatible with my Harley model?
Check the product description or packaging for compatibility details. Most manufacturers list the specific Harley models their foot pegs fit. You can also consult your bike’s manual or reach out to the seller for confirmation.
Do I need professional help to install custom foot pegs?
Not necessarily. Installing custom foot pegs is a straightforward DIY project. With the right tools and this guide, you can complete the installation yourself. However, if you feel unsure, a professional mechanic can assist you.
What tools are essential for installing foot pegs?
You’ll need basic tools like needle-nose pliers, a rubber mallet, a flat-blade screwdriver, and Allen wrenches. These tools help you remove old pegs and secure the new ones properly.
Should I grease the foot peg mount during installation?
Yes, applying grease to the contact points of the foot peg mount and pin is important. It ensures smooth operation and prevents wear over time. Use a small amount to avoid excess grease causing slippage.
Can I adjust the position of the foot pegs after installation?
Absolutely. You can loosen the mounting hardware to reposition the pegs. Adjust them to find the most comfortable and natural placement for your feet. Make sure to tighten everything securely after making adjustments.
What should I do if the foot pegs feel loose or wobbly?
Check the mounting hardware, including the bolts, pins, and washers. Ensure everything is tightened properly. If the issue persists, inspect the spacer washer or consider adding one for extra stability.
How do I clean the mounting area before installing new foot pegs?
Use a clean cloth and mild cleaner to wipe down the area. For stubborn dirt or grime, a small brush works well. Cleaning ensures a secure fit and extends the life of your new foot pegs.
Are there different types of custom foot pegs available?
Yes, custom foot pegs come in various materials, designs, and finishes. Options like aluminum pegs (7075 T6 or 6061 T6) offer durability and strength. Choose a style that matches your preferences and riding needs.
How can I test the foot pegs after installation?
Take a short test ride to evaluate comfort and stability. Shift your weight, change gears, and brake to see how the pegs respond. If you notice any issues, make adjustments before heading out for longer rides.
Just gotta say, jjwincom has been treating me right. Good selection of games, and I even managed to snag a little win the other day. I’m feeling lucky jjwincom